
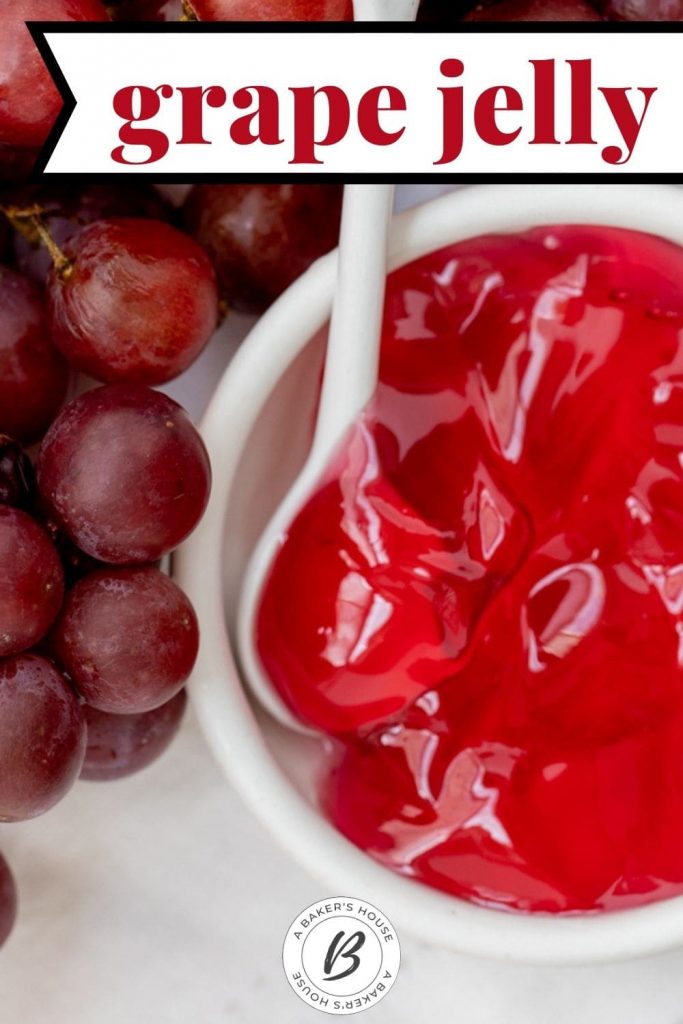


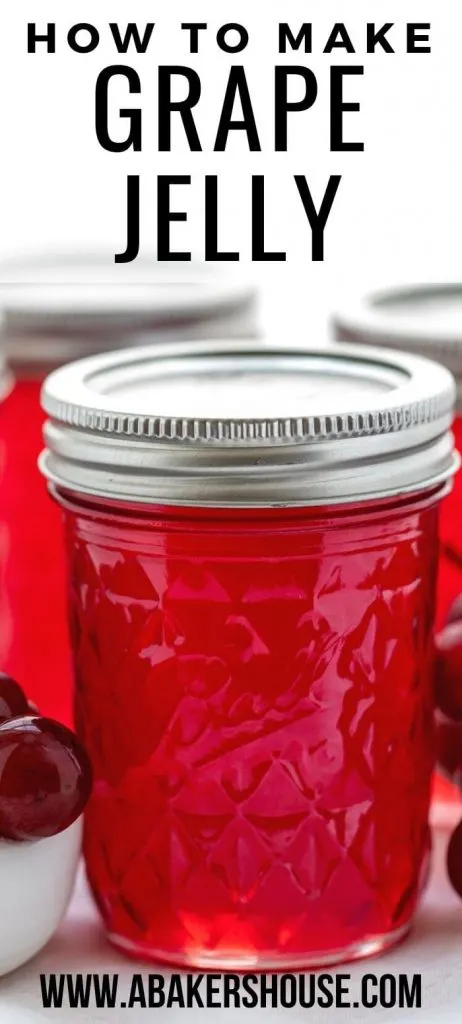

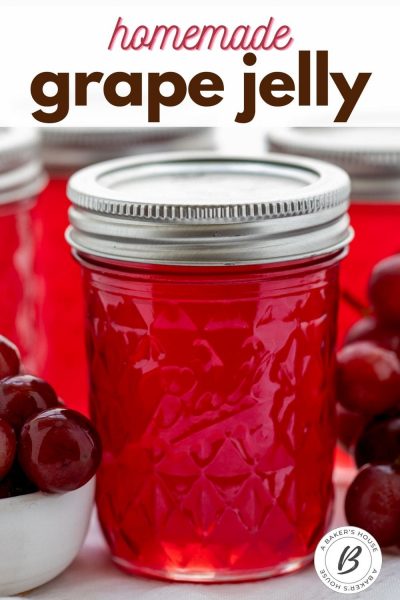
Making homemade grape jelly is easy if you follow a step by step process. This grape jelly recipe is adapted from the directions on the Certo Liquid Fruit Pectin box. It’s a two-day process so plan ahead.

Grape jelly is a great way to save the taste of fresh grapes to enjoy later in homemade preserves. There is something very satisfying about making jams and jellies at home. If you like this jelly, another favorite to try is this hot pepper jelly recipe.
The colors of the jams seem brighter, the fruits fresher, and the tastes are all that much better than what you might buy off the grocery store shelf. If you enjoy homemade preserves as much as I do, you’ll find this canning resource page very helpful. It’s filled with ideas and recipes!
Why this recipe works:
The process of making grape jelly is less intimidating than you might think. You add sugar and water (and often pectin) to fruit, cook it, then ladle it into jars. Let’s get started!
What ingredients are in grape jelly?
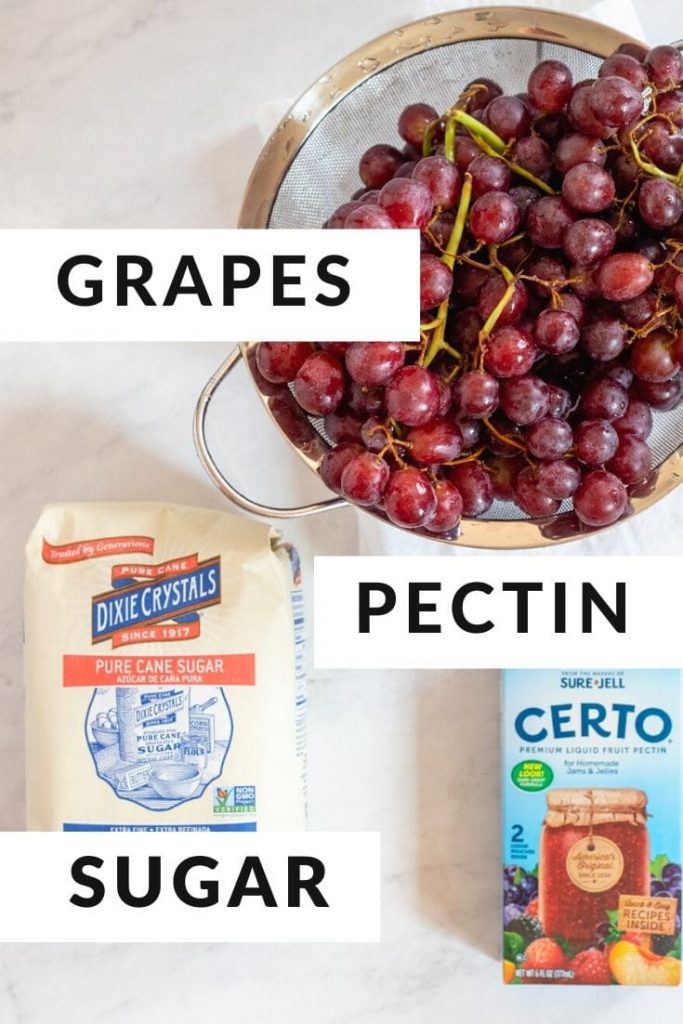

- Fresh grapes to make grape juice
- Sugar
- Liquid Pectin
How do you make grape jelly?
- On day one you will prepare the fruit.
- Pour the fruit over cheesecloth to strain your grape juice overnight.
- The next day bring the juice to a boil in a large saucepan. Add the sugar.
- Add the liquid fruit pectin and bring the jelly to the gelling point.
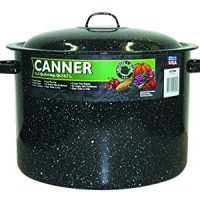
- Ladle into sterile jars and process in a boiling water canner or store in the refrigerator.
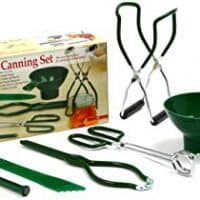
The tools you’ll need for most canning and preserving projects are an important part of your success.You’ll always want to start with clean jars. Sometimes you’ll need to go the extra step to sterilize the jars, too. Read more about canning supplies here. Let’s look into the steps more closely with step by step photos:
Day 1: Make grape juice from scratch
This step in making grape jelly allows you to capture the grape juice. You could skip this step and start with store bought, unsweetened grape juice and continue on to day 2 instructions.
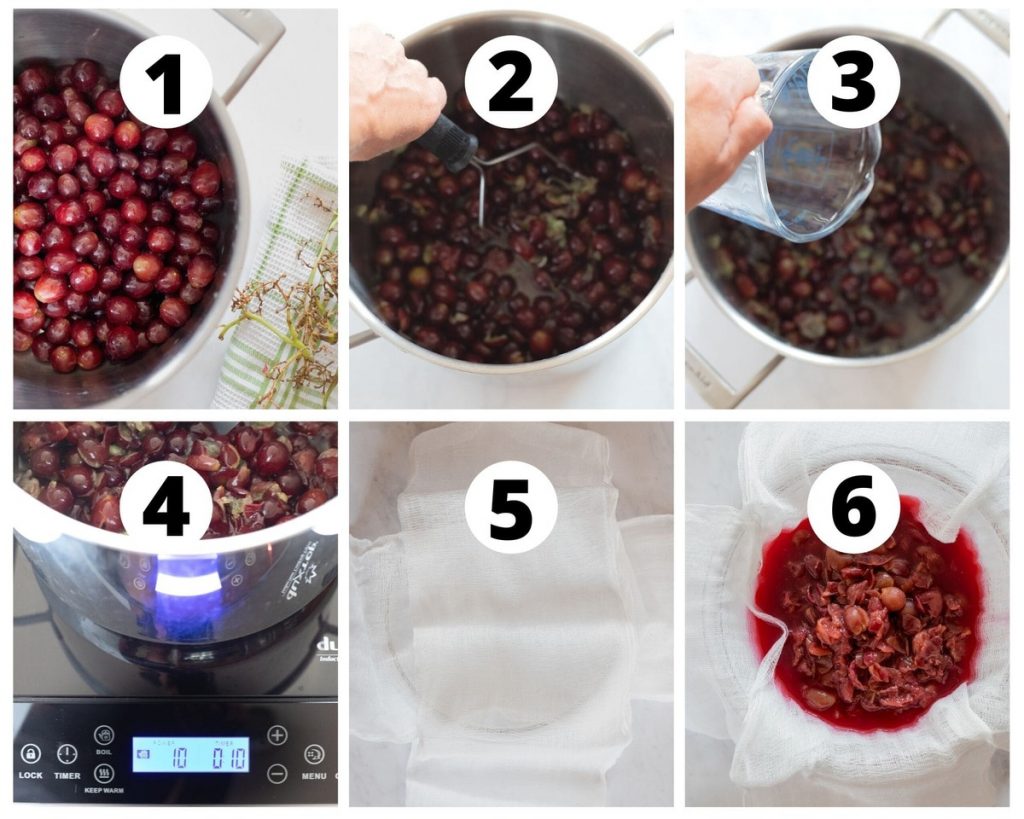

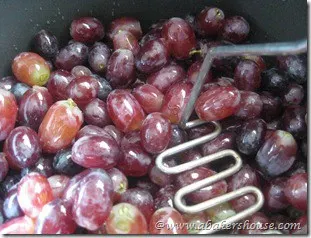
- Wash the grapes. Remove from the stems.
- Crush the grapes with a potato masher or other utensil.
- Add water. Bring the grapes and water to a boil in a large, deep saucepan. Simmer for 10 minutes.
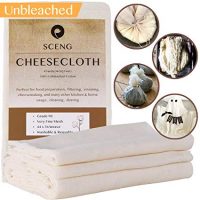
- Prepare cheesecloth draped over a deep bowl.
- Strain the grapes overnight.
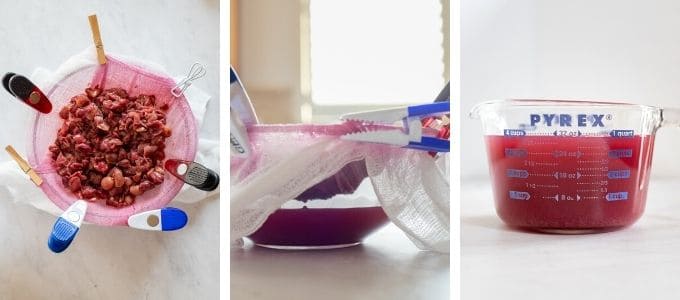
One important detail to note about straining the juice overnight. You’ll want the cheesecloth to be suspended above the level of the juice. I use clothspins and other clamps to attach the cheesecloth to the sides of my glass bowl. You’ll see in the second photo above that you can see the juice dripping slowly into the bowl. Refrigerate the bowl overnight.
You’ll need four cups of fresh grape juice. If you have extra, set it aside to drink or for another use. If you have less than four cups you can add up to 1/2 cup of water to make up the rest of the volume.
Day 2: Make jelly from the grape juice
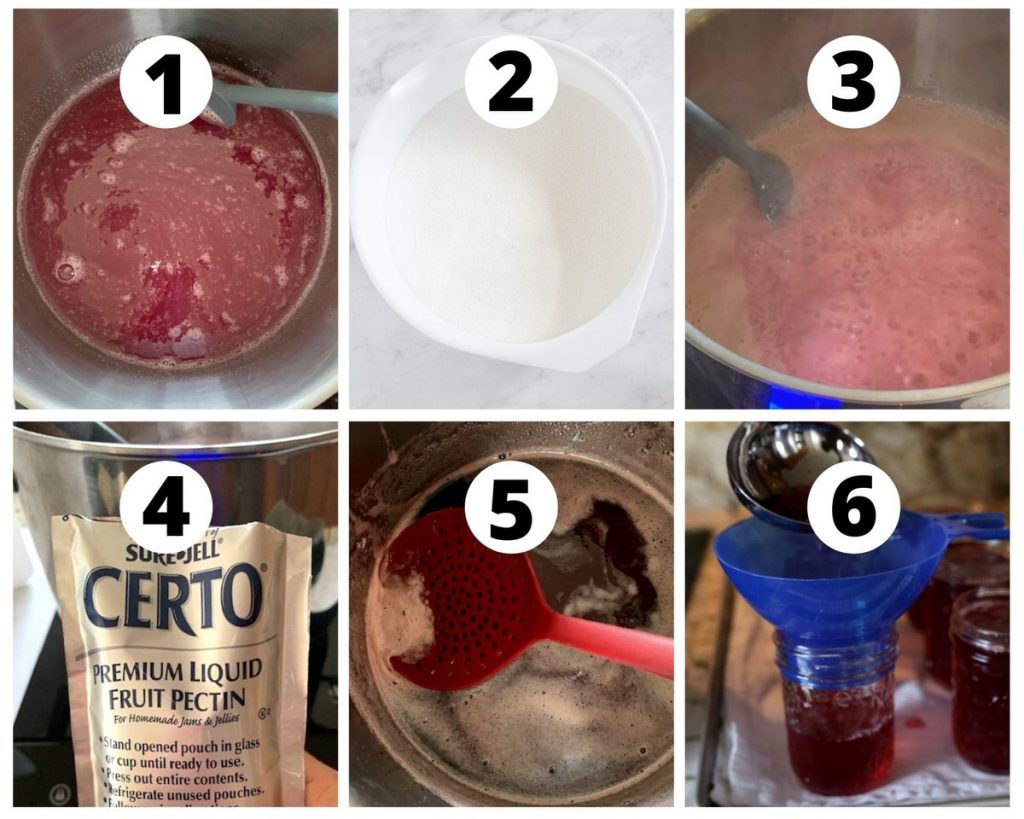

- Pour four cups of grape juice into the large, deep saucepan.
- Add the sugar and stir over high heat.
- Bring the mixture to a boil, stirring as the sugar dissolves.
- Add the package of liquid pectin. Boil for one minute then remove from heat.
- Skim off any foam that has formed.
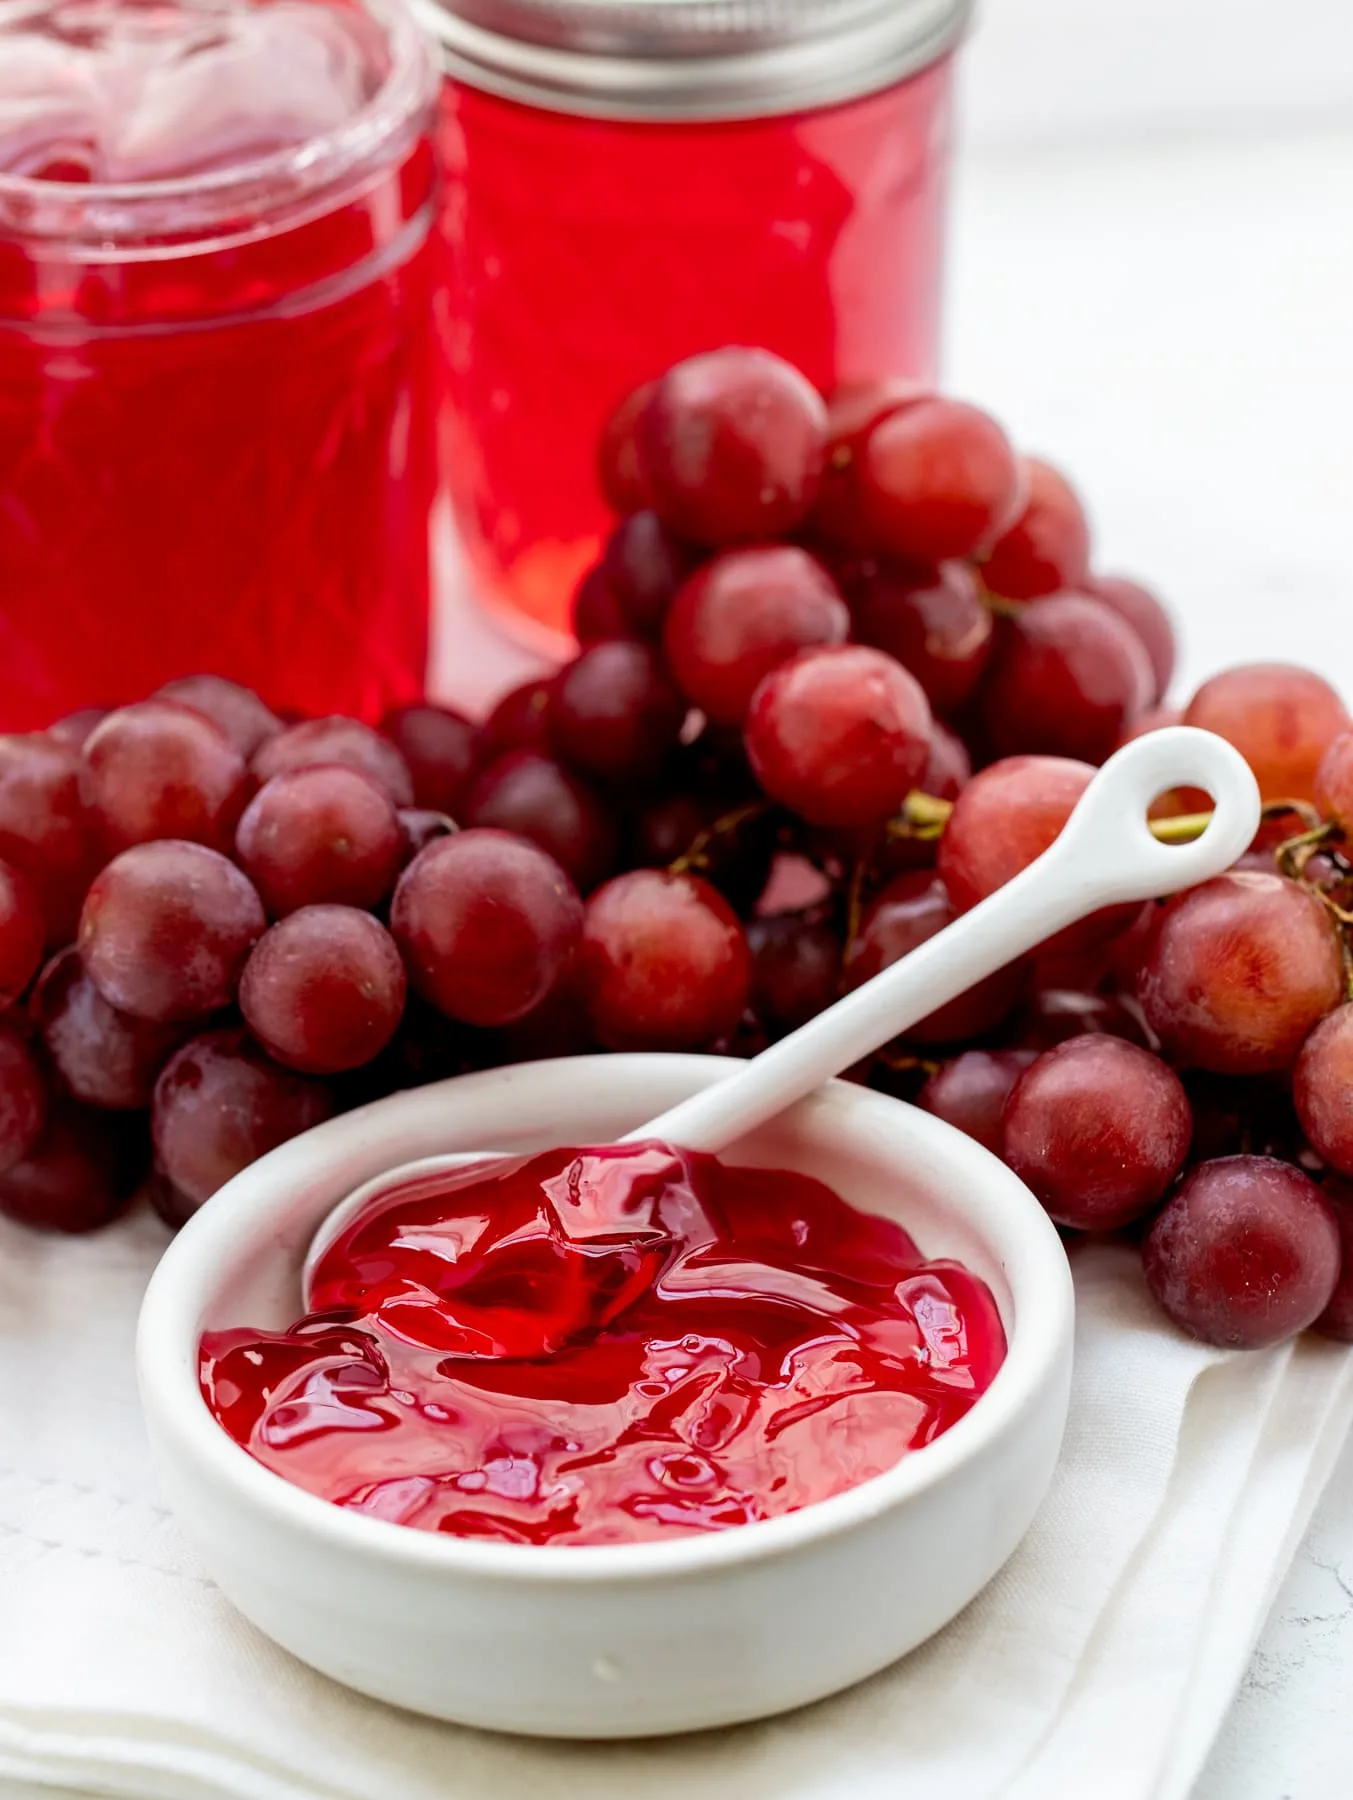
- Ladle the hot mixture into clean jars.
Process with the boiling water canning method if desired. Or store in the refrigerator.
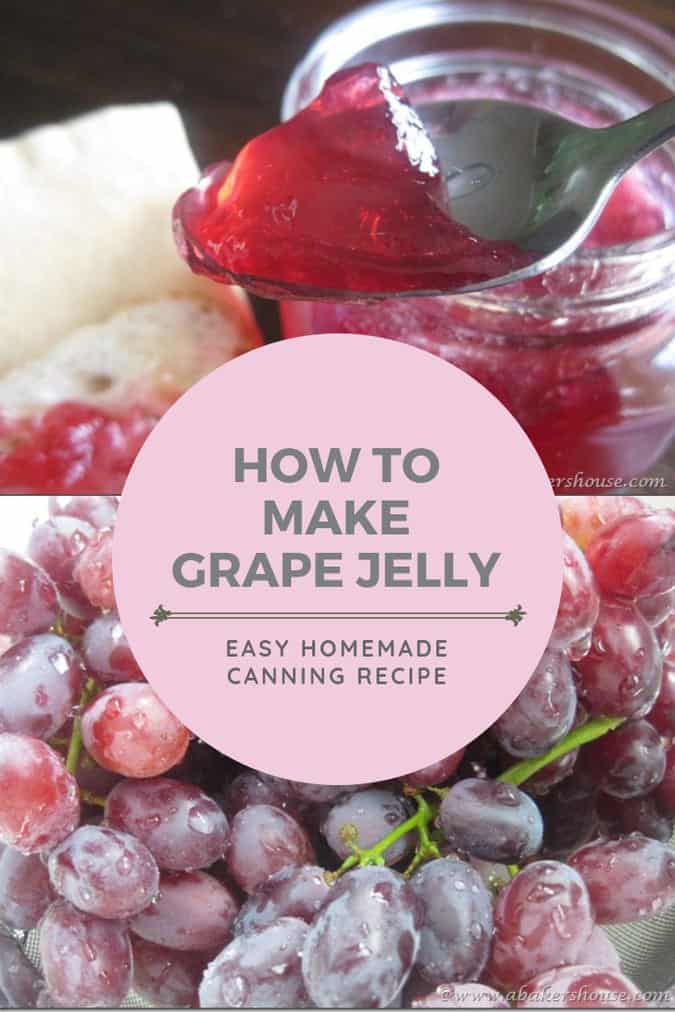
What’s the difference between jelly and jam?

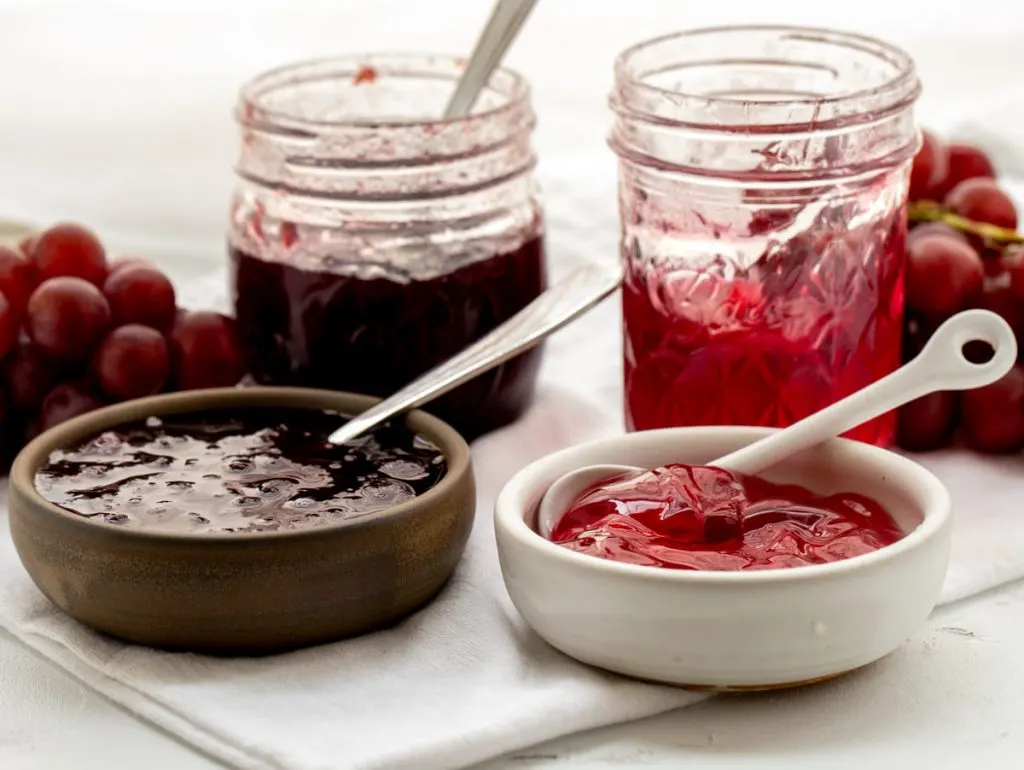
The general difference between jelly and jam is that jelly is made from the juice of fruits and jam is made from the entire fruit. Here the grape jelly recipe starts with fresh grapes and then the juice is extracted from the grapes before you make the jelly.
The distinctions are blurry in many recipes and you can often consider jam and jelly to be nearly the same. Not for grapes– jelly and jam are indeed different. The texture of the finished jelly is smooth and jiggly whereas grape jam is thick and has pieces of grapes throughout.
Here is my favorite recipe for an easy grape jam if you’d like to see the difference between grape jam and grape jelly.
Recies tips and tricks:
You can make grape jelly without pectin, although I find more success in using added pectin. The cooking time will differ if you don’t use pectin, and you’ll need to track the temperature of the liquid to make sure that it reaches the gelling stage.
You can skip the step of making grape juice from scratch and start with unsweetened, store-bought juice if you prefer.
Any grape you enjoy eating is good for making grape jelly. Concord grapes lend a beautiful shade of deep purple to jelly. Table grapes from the grocery store were used in making the jelly I show here. Other grapes such as Gumdrop grapes or Cotton Candy grapes would be lovely too.
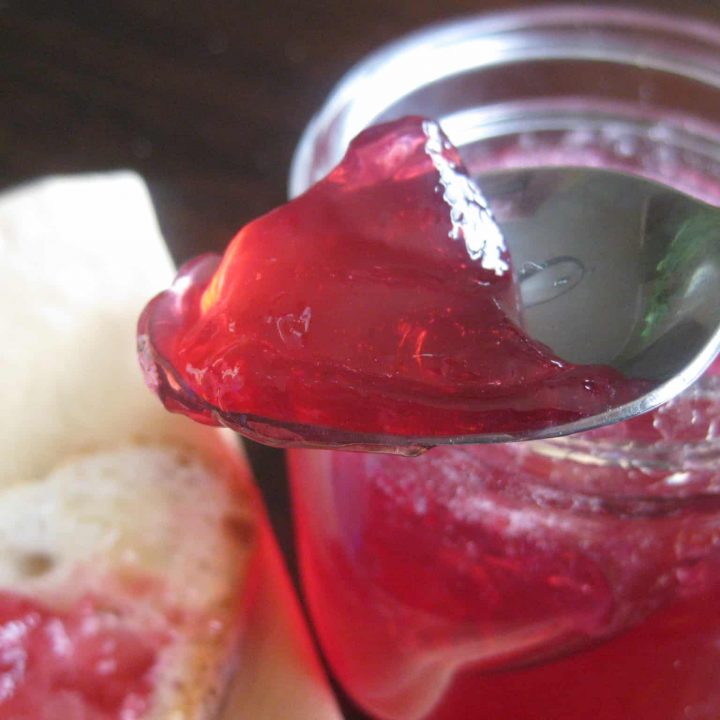
Allow your finished grape jelly to set over 24 to 48 hours. Sometimes it can take longer if you haven’t used additional pectin.
If you do not process the jelly in a water bath canner, it must be stored in the refrigerator. If you have made your jelly shelf stable by canning it, the jelly should last for about a year.
Any opened jar of jelly needs to be refrigerated.
Yes, jelly can be frozen.
Once you have your beautiful grape jelly, use it in this recipe for Jam Sandwich Cookies, linzer cookies, or jam thumbprint cookies.
Another popular way to use grape jelly is a crock pot recipe for meatballs. The site Spend with Pennies shares her meatball recipe which sounds the way my mom made them too.
Add a label to your jar of grape jelly!
Did you know that I have a FREE Printables library? I love sharing labels that you can download and print yourself. When you are making jams, jellies, and marmalades, it is so nice to add a personal touch.
Recipe for Grape Jelly
Grape Jelly

Making grape jelly at home is easier than you think. Follow these instructions adapted from Certo Liquicd Fruit Pectin.
Ingredients
- 3 pounds grapes
- 1/2 cup water
- 7 cups sugar
- 1 pouch liquid pectin
Instructions
DAY 1-- Prepare the fruit:
1. Take 3 lbs of grapes, remove the stems and crush the fruit. I used a potato masher for the crushing step.
2. Place the mixture in a deep saucepan (you’ll want the sides to be relatively high so the liquid doesn’t bubble over later in the process) and add 1/2 cup of water.
3. Bring to a boil then cover and reduce to a simmer for 10 minutes.
4. Prepare a few layers of cheesecloth by draping them over a bowl. Take the fruit and pour the contents over the cheesecloth. I let this sit overnight. Be sure that your cheesecloth is suspended high enough such that it doesn’t touch the liquid that has dripped through to the bowl. Don’t squeeze the cheesecloth or your juice will become cloudy.
DAY 2—Make the jelly:
1. Use 4 cups of the strained juice. Pour the juice into a large pot and add the 7 cups of sugar. (No, that isn’t a typo—7 cups is A LOT of sugar but that is the amount stated in the recipe. Don’t get scared off now, this jelly will be delicious!)
2. Bring the juice and sugar to a boil and stir constantly. The mixture is going to start to rise up the sides of the pot. Keep stirring until you can’t feel the sugar scraping against the pot. The lack of that sugar sound means it is completely dissolved.
3. Stir in one pouch of the liquid pectin. Bring back to a full boil for exactly one minute—keep stirring! Remove the pot from the heat and try to skim off any foam that may be on top. Ladle the jelly into sterile jars.
Notes
If you plan to process with the boiling water canning method, have your sterilized jars and lids ready before you begin making jelly on day 2.
Recommended Products
As an Amazon Associate and member of other affiliate programs, I earn from qualifying purchases.


Nutrition Information:
Yield:
96Serving Size:
1 tablespoonAmount Per Serving: Calories: 68Total Fat: 0gSaturated Fat: 0gTrans Fat: 0gUnsaturated Fat: 0gCholesterol: 0mgSodium: 2mgCarbohydrates: 18gFiber: 0gSugar: 17gProtein: 0g
This data is provided by Nutrionix and is an estimate only.
How to process with a boiling water canner
If you wish to can the jelly proceed as follows, or, if not simply put the jelly in jars and leave in the refrigerator.
Ladle the jelly into sterilized jars leaving 1/8 inch of space at the top. Clean any drips off of the rims then cover with the two-piece lids. Place the jars in a boiling-water canner and process for 10 minutes, or for as long as is required at your altitude. Remove the jars and allow to cool.
The details of boiling-water canning are further explained in the Bell Blue Book of Preserving and also on the instructions included in the Certo Liquid Pectin packets.
If this is your first time canning jelly please be sure to read more detailed directions before starting. It helps to have all of your equipment sterilized and prepared ahead of time so that you can be one step ahead of the very hot and very bubbly boiling pots on your stovetop!
Pin this recipe to make later!
More canning recipes!
Once you’ve started canning at home you won’t look back! Stock up on extra mason jars and supplies and try these recipes too.
- Blood Orange Marmalade
- Pear Butter
- Hot Pepper Jelly
- Orange Lemon Marmalade
- Spiced Pear and Apple Butter
- Cara Cara Orange Marmalade
- Plum Jam
- Crock Pot Peach Mango Butter
Kitchen tools you’ll need for this recipe:
As an Amazon Associate I earn from qualifying purchases.
This post was originally shared in 2012, updated with text in 2019. Photos and text were updated again in September 2020.


Holly Baker started the food blog, A Baker’s House, in 2011. She is the writer, recipe creator, and photographer for the site. Holly loves to bake and shares recipes for gluten free food, canning recipes, as well as traditional desserts too. Her recipes and food photography have been highlighted by BuzzFeed, Reader’s Digest, and She Knows.
Lisa
Tuesday 22nd of September 2020
Do you have to put in a canner to process? Can you just put in jars without doing that process?
Holly Baker
Tuesday 22nd of September 2020
You can absolutely make this jelly without the canning process. The canning process allows you to store extra jars that would then be shelf-stable. If you don't process the jelly in a water bath canner, simply put the jelly in jars and store in the refrigerator.
Sara
Wednesday 19th of August 2020
My husband eats grape peanut butter and jelly EVERYDAY, so this will be perfect. Just one question when letting it sit overnight does it have to be in fridge or on counter.
Holly Baker
Wednesday 19th of August 2020
I've done both but I think leaving it in the refrigerator overnight is best practice. I'm working on a grape jam recipe that I'll share in the next week or two and it doesn't require the overnight wait and process. Check back for that post soon! Thanks so much for your comment.
ms berry
Thursday 6th of August 2020
Thanks for the instructions on handling the grapes, my tip is to add 1/2 tablespoon of butter when you boil the jelly to prevent foam from forming !
Holly Baker
Thursday 13th of August 2020
Thanks for the tip!
Marilyn Clark
Friday 11th of May 2012
This is a great post! I've made tons of jams over the years but I have never tried a jelly. LOVE all the pictures...looks easy, just time consuming!
Holly @ abakershouse.com
Friday 11th of May 2012
Do you have a favorite jam to make? I like raspberry a lot. I hadn't tried jellies before and this wasn't too hard at all. just time consuming as it sat overnight but otherwise simple. Enjoy!
Shiloh
Friday 11th of May 2012
This makes me think of when my mom used to make grape jelly. I love it! She'd make juice too. Lol, makes me a little homesick.;)Shiloheverydaygameplan.net
Holly @ abakershouse.com
Friday 11th of May 2012
So glad this brought back happy memories for you. Thanks for stopping by and leaving a comment. Have a great night!