

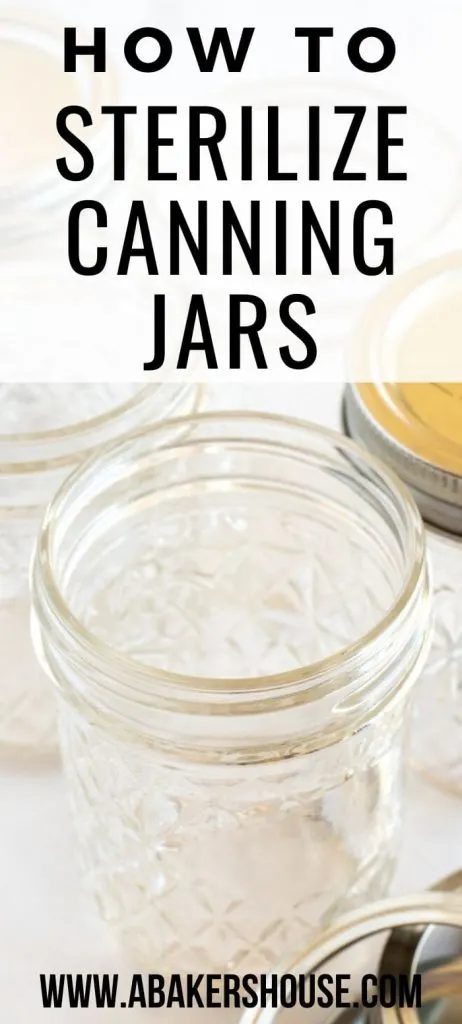
Learning how to sterilize canning jars is an important step in the process of home preserving. There are really two questions that we need to answer: the first is do I need to sterilize my jars and the second is then how do I prepare jars and lids for canning? Let’s get started!

If you’d like to learn more about canning and how to make jams, jellies and marmalades, please check out this Canning Resource Section of my site. You’ll find information on canning equipment, when to use pectin, and recipes like how to make plum jam, grape jam, and how to make orange marmalade.
Food safety
Today let’s learn more about sterilization of jars and lids for canning. Food safety is a priority when it comes to home preserving. While it is great to learn how to make preserves, jams and more, it is of utmost importance to know that the foods you create will be safe for your family and friends to consume.
A food safe end product starts at the very beginning with your jars and lids.
When I first starting using a water bath canner, I thought that all jars and lids had to be sterilized for ALL recipes. While it certainly won’t hurt your process to sterilize mason jars every time, a complete sterilization of canning jars is only required if you are processing your jars in a water bath canner for LESS THAN 10 minutes.
A good source for valuable information on canning is the National Center for Home Food Preservation.
Any recipe that calls for 10 minutes or less of continuous boiling in a boiling water canner at sea level demands that you sterilize your jars and lids. Processing times greater than 10 minutes at sea level actually will sterilize the jars, lids and contents during the boiling time.
*A quick note: Although it may not be recommended to sterilize jars if you are processing more than 10 minutes, I still do it each and every time. I want to take every precaution, even if overboard, to make sure I have a food-safe jam to enjoy when I open the jars months later. What’s your view on this process? Leave me a comment below and let me know.*
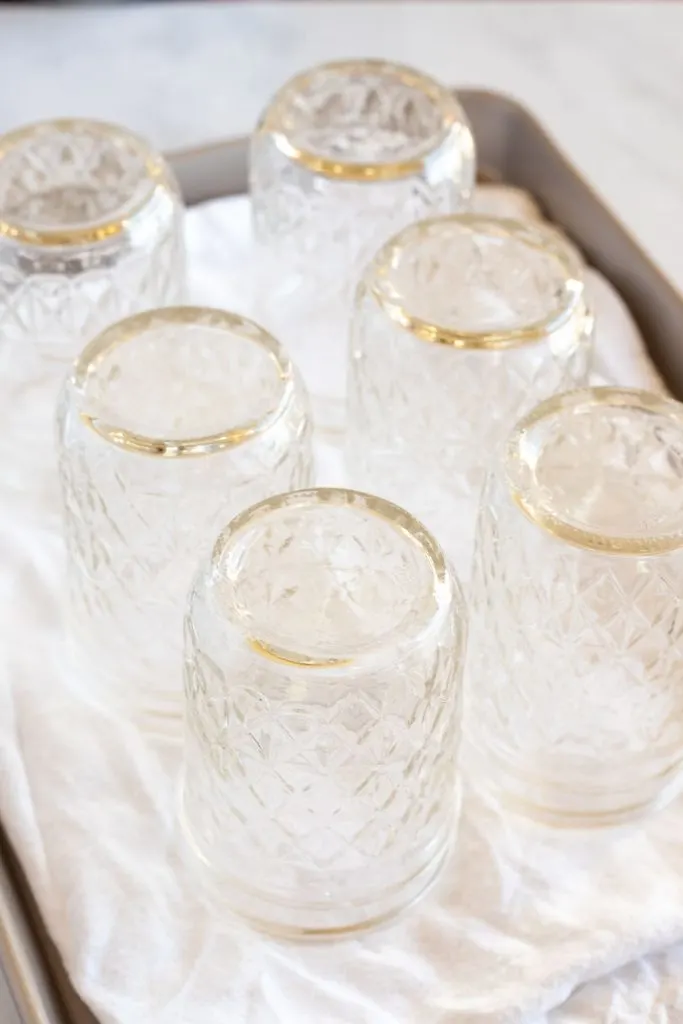
If sterilization is not necessary for a canning recipe, you still need to start with clean jars. The following sections discuss how to do both– sterilize or clean canning jars, but before we get into that, let’s cover one more point which is what jars to use for canning.

Jars for canning
If you are making jams at home and simply storing your small batch jams in mason jars in your refrigerator, you can use any jar or container. Glass jars, plastic jars, recycled jars are all find for jams if you are ONLY refrigerating your jam.
On the other hand, if you plan to process your jam in a water bath canner or pressure canner to extend the shelf life of your homemade jam, you must use appropriate canning jars. If you don’t you risk the jars shattering and/or your food won’t be safe to eat.
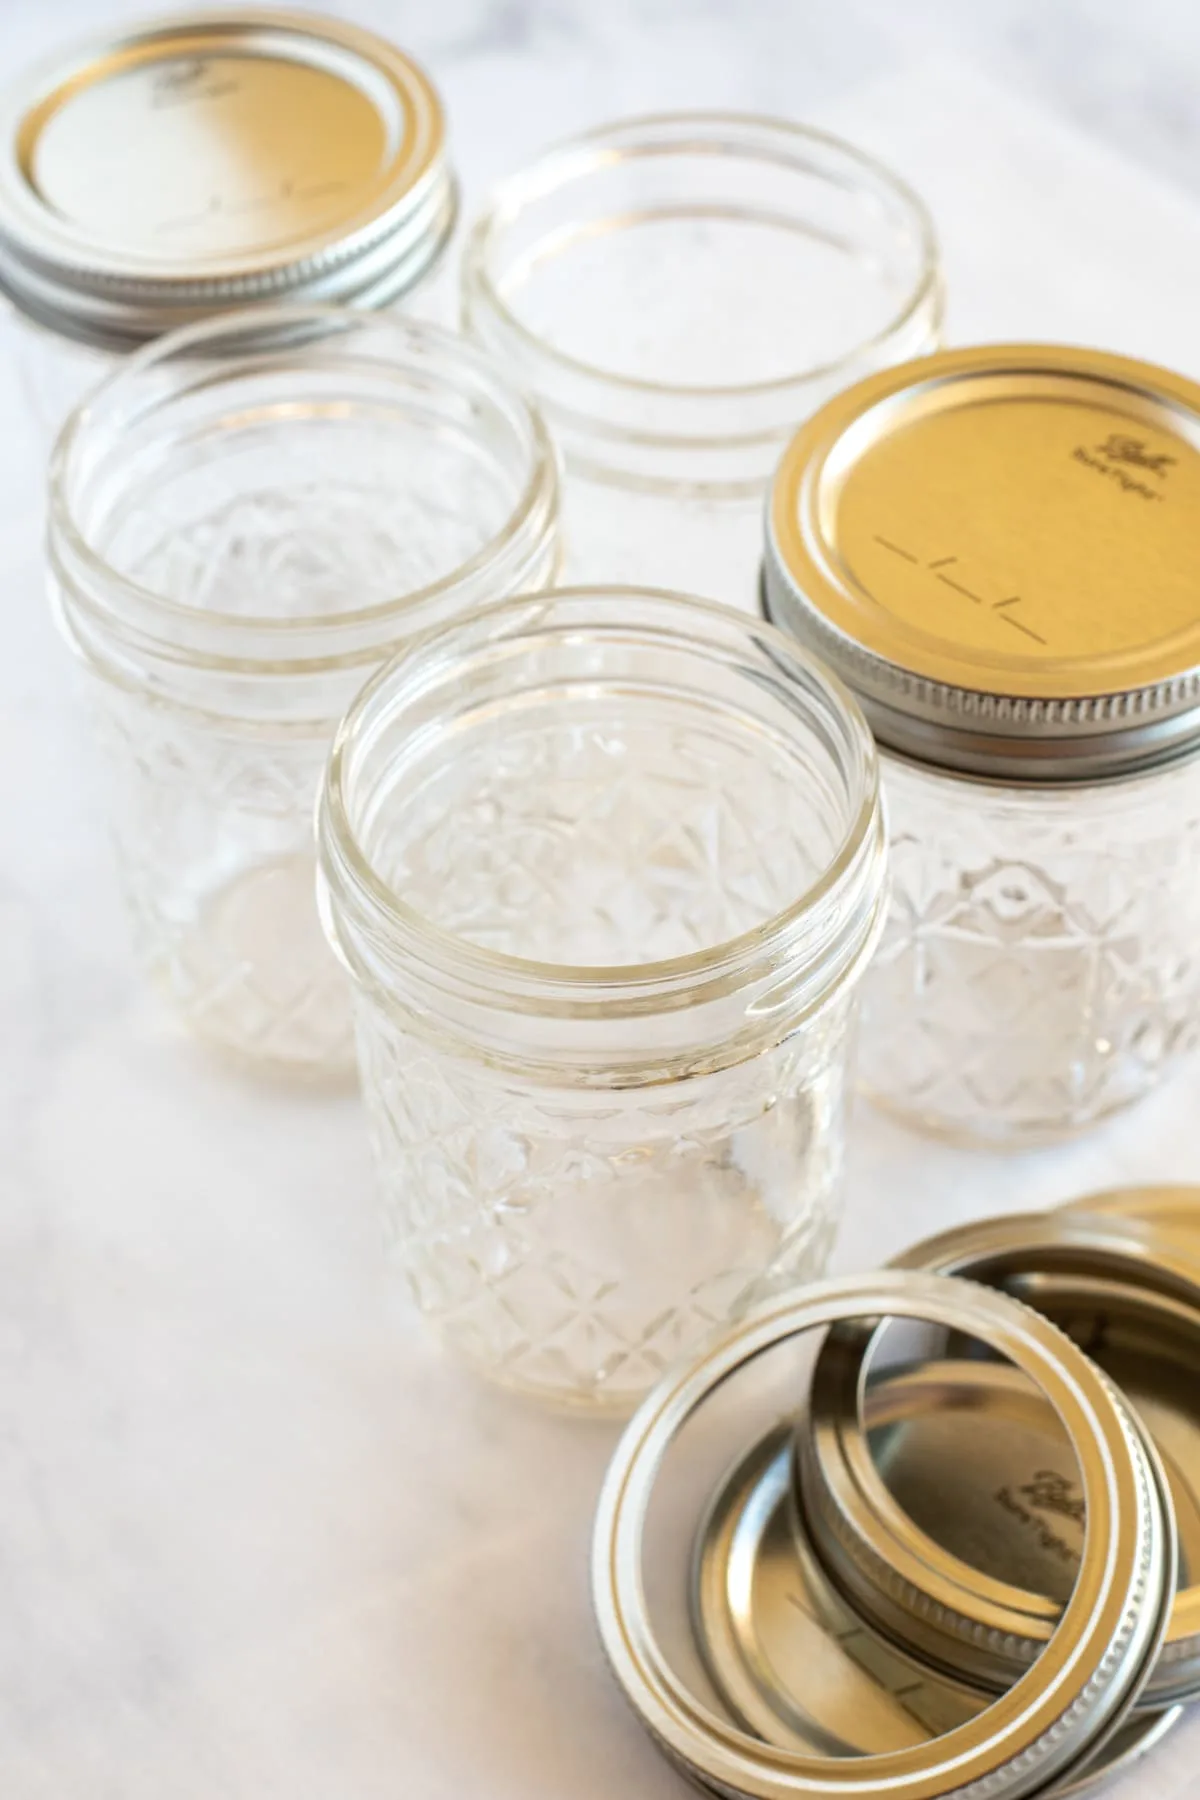
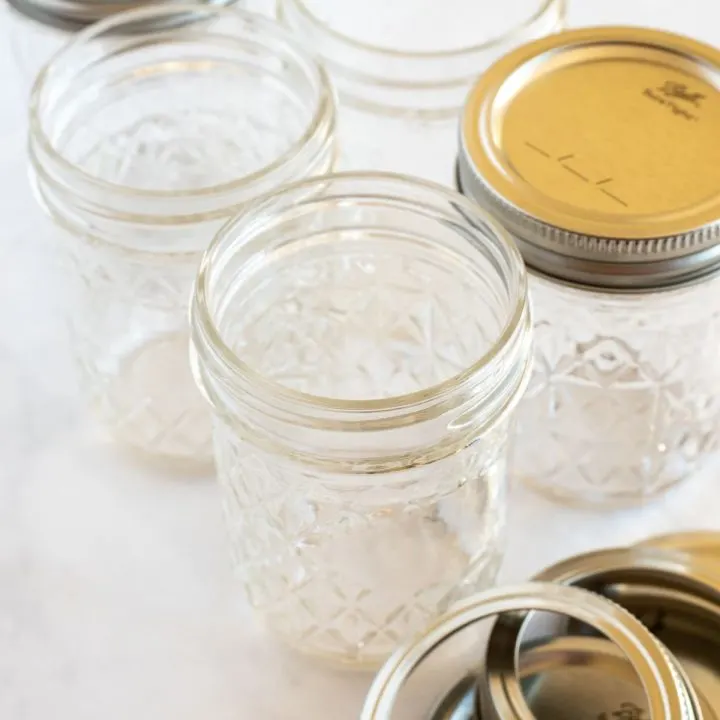
For canning purposes, use glass jars (often called mason jars) that are manufactured for canning. Do not recycle a jam or pasta jar from a commercial product. These jars are not designed to withstand the temperature of boiling water baths.
Don’t use craft mason jars or any old jar that happens to say “mason” on the side. Use only jars created for canning. Ball canning jars are excellent and what I consistently use. Find them here on Amazon, or in a local grocery store or hardware store.
Jars can be reused over and over again. Lids must be replaced every time. Extra lids are inexpensive and available online too.
Check your jars closely for any cracks or chips and do not use those jars for canning. They are more likely to shatter when you process them.
Read more from the National Center for Home Food Preservation. They are an excellent source to learn more about food safety.
How to sterilize mason jars
- Wash the jars with detergent in hot water.
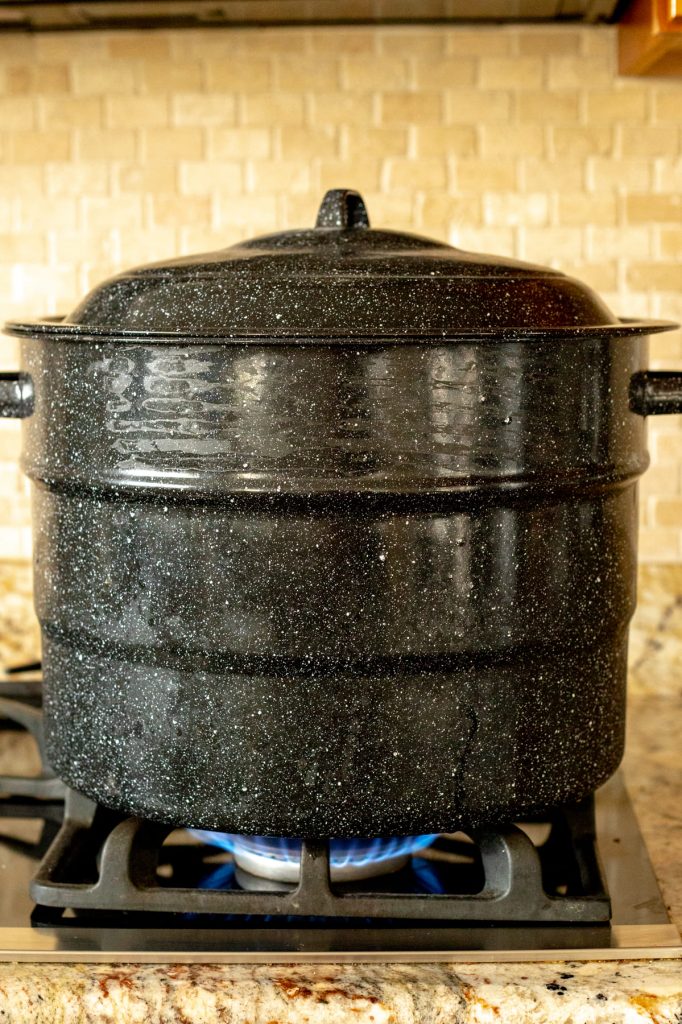
- Place your clean jars right side up (opened, no lid) in the boiling water canner. Fill with water to one inch above the jars. Bring the water to a boil and then start your timer to boil for ten minutes.
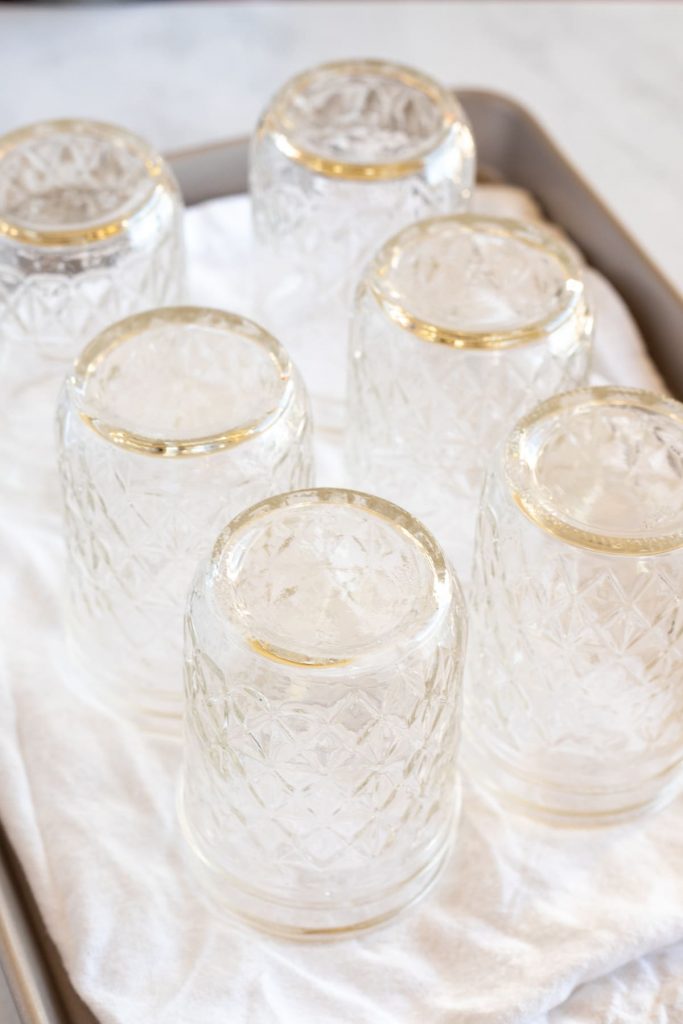
- Keep the jars in the canner until you are ready to fill with jam. No need to dry them off. Just empty the water and then place the hot jars on a towel or a cutting board. Do not place directly on a countertop as there is a possibility of shattering.
Be sure to use a jar lifter tool to make the job of moving the jars around a bit easier. They will be HOT!
High Altitude Canning: If you are canning at high altitude, increase the time of boiling by an extra minute per 1000 feet elevation. For example, Denver is 5,280 feet above sea level so the increased time for sterilization would be an additional five and a half minutes.
How to prepare jars for canning
If your mason jars don’t need sterilization, you still need to start the canning process with clean jars. Take care to follow these steps with brand new jars and jars that you are using for a second or third time.
Here are the suggested ways to clean jars before canning:
- Wash the jars in hot soapy water. Rinse and keep the jars warm until ready to use. The best place to keep the jars warm is right inside your boiling water canner. Place the jars in the canner and fill the canner with water up to the top of the rims of the jars. Let the water simmer but not boil.
- Wash the jars and canning tools like spatulas, ladles, funnels, and spoons in the dishwasher and select the heated dry option. If you have an antibacterial mode use that too. Then leave the dishwasher closed to retain the heat inside until you are ready to fill your jars.
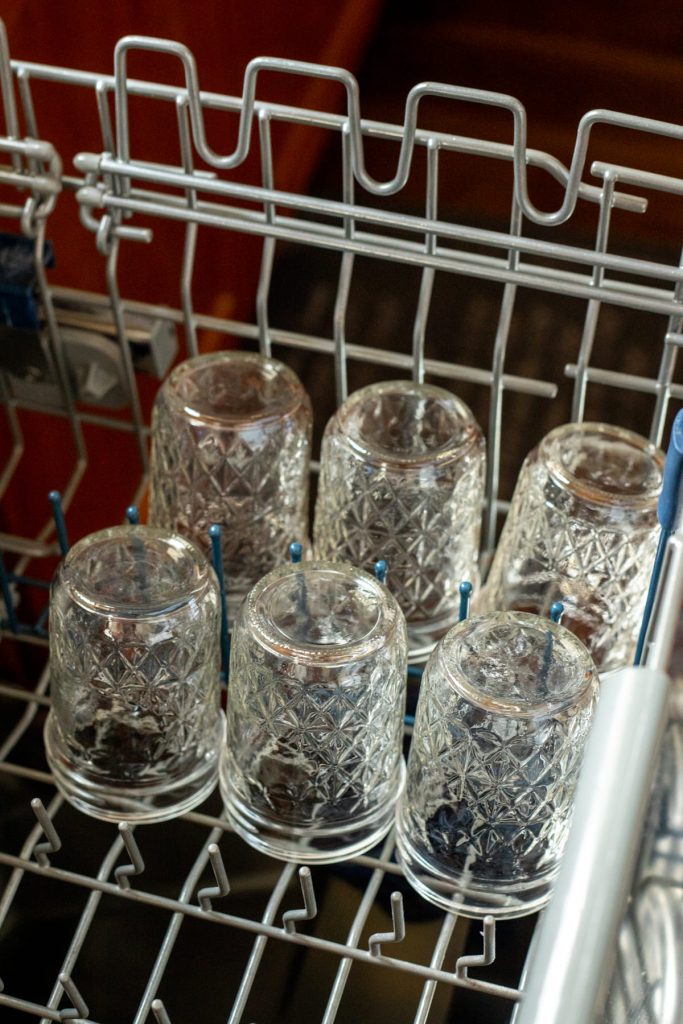

It is important to keep the jars warm until your jam is ready because the jam will be very hot. Hot liquids poured into a cold jar may cause the jar to shatter. Instead, hot jam poured into hot jars is the safe method.
Be sure to place your hot jars on a towel or wooden cutting board when you remove them from the canner or the dishwasher. This is to prevent breakage which is common if a hot jar touches a cold surface like a countertop.
How to prepare the canning lids

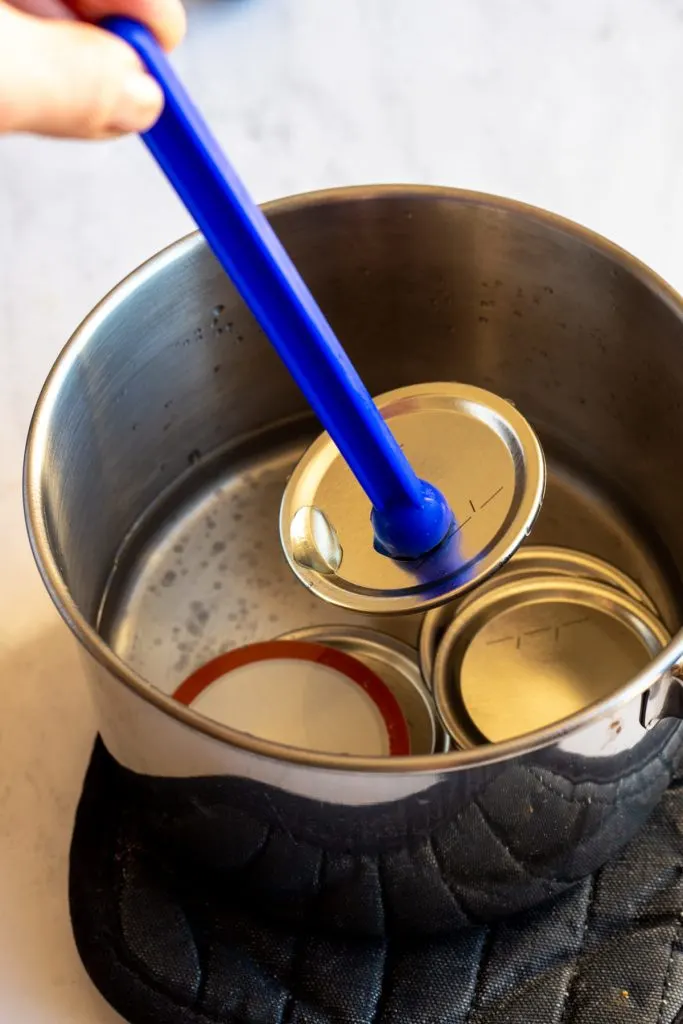
Canning lids must be clean before you place them on top of your mason jars too.
- Bring water to a simmer in a small saucepan.
- Place the lids in the saucepan and let simmer (not boil) until you are ready to fill your jars with jam
- Use a magnetic wand (found in most canning supply packs) to lift each lid and place it on the filled jar. No need to dry it off.
The screw bands do not need to be simmered in water. In fact, you’ll find it much easier if the screw bands are at room temperature when you screw them on your jars.
Canning Recipes
Now that we know how to sterilize mason jars, let’s get started with these favorite canning recipes for jams, jellies, and marmalades!
Please note that as an Amazon Associate I earn from qualifying purchases
How to sterilize canning jars

Learn how to sterilize jars for canning with this easy step by step guide.
Materials
- Boiling water canner or other deep pot
- mason jars for canning
- water
Tools
- Jar lifter
- Canning rack
- Clean towel
Instructions
Wash the jars with detergent in hot water.
Place your clean jars right side up (opened, no lid) on the canning rack in the boiling water canner. Jars shouldn't touch the bottom of the pot. Fill with water to one inch above the jars. Bring the water to a boil and then start your timer to boil for ten minutes.
Keep the jars in the canner until you are ready to fill with jam. No need to dry them off before filling. Just empty the water and then place the hot jars upside down on a towel or a cutting board . Do not place directly on a countertop as there is a possibility of shattering.
Notes
Wear protective oven gloves and take care not to burn yourself on the hot, boiling water or the hot jars.
Use a canning rack and place the jars on the rack before lowering them into the water. Having the rack especially helps to lift out the jars from the hot water.
Use a jar lifter to remove the jars from the canning rack.
Make adjustments for your altitude: boil for an additional minute for an additional one minute for every 1000 feet above sea level.
Recommended Products
As an Amazon Associate and member of other affiliate programs, I earn from qualifying purchases.


Holly Baker started the food blog, A Baker’s House, in 2011. She is the writer, recipe creator, and photographer for the site. Holly loves to bake and shares recipes for gluten free food, canning recipes, as well as traditional desserts too. Her recipes and food photography have been highlighted by BuzzFeed, Reader’s Digest, and She Knows.
Heather
Wednesday 21st of July 2021
Clear and understandable instructions. I love the option to use the dishwasher to keep the jars hot. Thank you for sharing!
Holly Baker
Sunday 5th of September 2021
Thanks for sharing a comment! I appreciate it.