
Whole Wheat Pita Bread
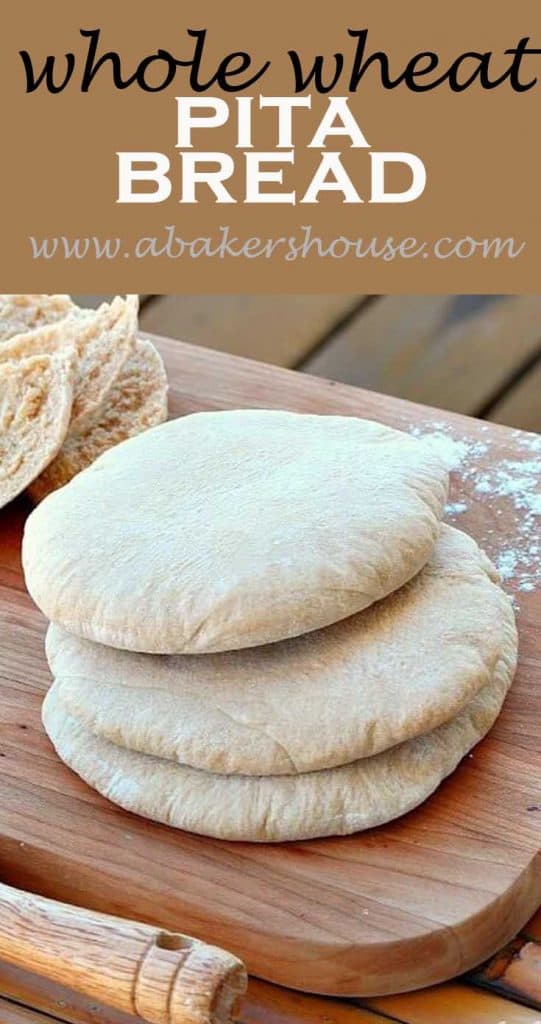
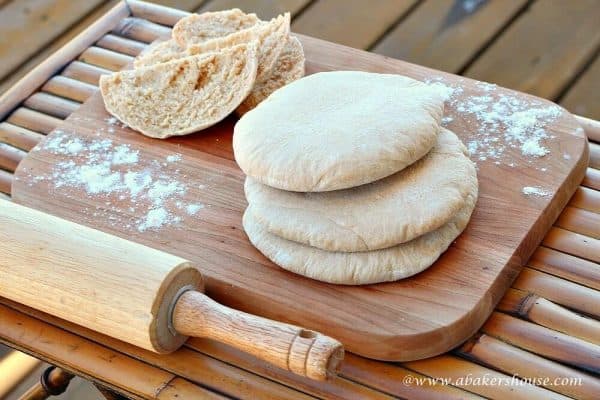
The idea of a whole wheat pita bread to start of my baking this year is ideal due to its simplicity. You can eat pita freshly baked, you can make pita chips, you can use it as a base for a homemade pizza.
Eat this flatbread with soups, make a sandwich, slice it and baked until crunchy for croutons on a salad. Yes, this is a versatile bread. And better yet, making whole wheat pita bread is not complicated. You have the few ingredients needed in your pantry already and the entire process takes a few short hours. Make it today for a meal tonight!
The recipe at A Fresh Loaf is one I will go back to again. A simple process with fantastic results. I chose to make pitas with some whole wheat flour—instead of 3 cups of all purpose flour I used two cups of all purpose flour and one cup of whole wheat flour. How will you modify the recipe to suit your tastes?
Some of my most popular homemade bread recipes are shared on A Baker's House:
- Knead Not Sourdough Bread
- Boston Brown Bread
- Easy No Knead Whole Wheat Bread
- Sun Dried Tomato and Olive Bread
The #TwelveLoaves theme for January is a CLEAN SLATE—the sort of recipes that take fresh, simple ingredients and get us back to the basics of bread-making. I considered a simple white bread, a healthy whole-grain loaf, or a basic pizza dough but came back to this Pita Bread recipe found on A Fresh Loaf.
Whole Wheat Pita Bread
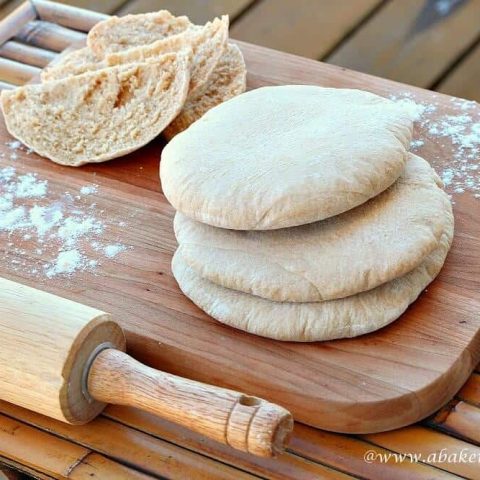
Make this fluffy, whole wheat pita bread at home. Heating the baking pan first is key to success!
Ingredients
- 2 cups all purpose flour
- 1 cup whole wheat flour
- 1 Tablespoon sugar
- 1 packet of yeast ( I used instant)
- 1 ¼ to 1 ½ cups water, slightly warmed
- 2 Tablespoons olive oil
Instructions
Mix the flours, sugar, and yeast together. Add the water and olive oil. Let the dough come together as you mix on low speed for at least 10 minutes. Put the dough into a bowl coated with baking spray. Cover with plastic wrap (also coated with baking spray) and let rise until doubled, about 90 minutes.
Once the dough has risen, knock it down (this means to punch it down in the middle so that it deflates), then divide it into 8 pieces. Roll the pieces into balls, cover and let rest for 15 minutes.
Preheat the oven to 400 degrees F. Turn a baking tray upside-down and let it preheat in the oven too. You need a very hot surface on which you’ll place your pitas to bake.
Spray your baking surface with water right before you place your dough in the oven. This step creates steam.
Roll the dough balls out into thin circles. You may only fit a few at a time on your baking sheet. The pitas only cook a short time so you can work in batches and have perfect pitas in no time.
Bake the pitas for 5-7 minutes each. I had more success with thinly rolled dough (about ⅛ inch) as opposed to ¼ inch thick dough.
Notes
I used a stand mixer but this recipe can also be made by hand.
Nutrition Information:
Yield:
8Serving Size:
1 pitaAmount Per Serving: Calories: 204Total Fat: 4gSaturated Fat: 1gTrans Fat: 0gUnsaturated Fat: 3gCholesterol: 0mgSodium: 3mgCarbohydrates: 37gFiber: 3gSugar: 2gProtein: 6g
This data is provided by Nutritionix and is an estimate only.

Holly Baker started the food blog, A Baker's House, in 2011. She is the writer, recipe creator, and photographer for the site. Holly loves to bake and shares recipes for gluten free food, canning recipes, as well as traditional desserts too. Her recipes and food photography have been highlighted by BuzzFeed, Reader's Digest, and She Knows.
I'm with Renee...never made it, and now you have inspired me to do it! Beautiful pitas!
Thanks, Dorothy! I was surprised how easy this was to bake. I think I'd like to get a baking stone and see how that would help me retain heat on the baking surface. The pitas would puff up a bit more I think.
On my list to tackle is pita bread. I have certainly eaten my share but never made it.
I think my list of breads to bake is growing quickly too! This was a simple recipe that could be made in an afternoon and enjoyed for dinner. Happy New Year!
Yum Holly! I have never made pita bread but would love to. I'm just imagining how delicious they would be with some homemade falafel and hummus. Ok, this is on my list for early 2013. Happy New Year and best wishes for a wonderful 2013!
Thanks, Karen! These are delicious with hummus. I made some that I should share on the blog soon. Homemade falafel I haven't tried but that is a great idea! Happy New Year!
Beautiful breads! I so enjoy pita bread but like Renee and Dorothy I've never made it. My must bake bread list for 2013 is rapidly growing, pita is now on it!
Thank you! Add this pita to your list of really easy breads to make. There are a few short waiting periods while the dough rises but it is a short process and one that I'll repeat again. Happy New Year!
Thanks, Paula! This was one of the easier breads I've made. The recipe is basic and not fussy at all. Happy New Year!
Like Alice, I've always wanted to make my own pita! The ones from the market are never fresh enough for my liking! Thanks for sharing a wonderful recipe!
I have always wanted to make my own Pita bread and now I can!! Thank you for this! I love it! 🙂 Happy New Year!
Holly, I have never tried pita bread and you have definitely inspired me. Really beautiful photos.
I have been wanting to try homemade pita for a while now. It looks so good. Happy New Year!
Thanks, Jennie, this was an easy recipe and I will definitely make it again. Happy New Year!
You make it looks very easy to do. I love pitas since my 3 months in Canada. Pita was my favourite bread and I was surprise on how easy to was to find in stores. Now I can do it. Thanks and Happy new year.
Hi Rossella, So nice to hear from you, thanks for your comment. This is truly one of those recipes that is so easy to make that you'll wonder why you hadn't tried it sooner! Happy New Year to you! Holly
Looks good, Holly! I just bought a Kitcheniad mixer. I've already made 2 loaves of bread! I think I'll make your pita bread this weekend!
Thanks, Julie, and do link up your bread, it was beautiful! And if you need a suggestion of what to try next, I made Jennie's contribution this month which was Grandmom's Dinner rolls. I served them tonight to friends and they were a hit!
I love pita bread and yours just look amazing! I have not made them for a long time, but now cannot wait to roll up my sleaves! Thank you for the inspiration!
It's very kind of you to take the time to leave a comment-- thanks! I am just about to try another recipe from this Twelve Loaves post- the dinner rolls from Jennie at The Messy Baker. It's a great group of recipes and wonderful to be inspired by others baking in their kitchens. Happy New Year!
I'm so excited for this month's Twelve Loaves theme and these pitas look fantastic. I adore pita bread and I've never made my own. Bookmarking this to give it a try!
Thanks, Kate, yes this month was a great way to start off the year baking. I made Jennie's rolls tonight for dinner and they were wonderful. I can't wait to try more bread recipes. Happy New Year!
These look delicious! Pita bread has always kind of seemed like a mystery to me, I always wondered how you get those little pockets inside. But this doesn't seem that hard at all, and demystifies it a little bit 🙂 Thanks!
So funny-- I wondered the same thing! It turns out that the heat of the cooking surface seems to "shock" the dough and it rises quite quickly while cooking which makes that tender inside pocket. I recently bought a baking stone and think that will help make even better pitas next time. Thanks for stopping by! Holly
It's really a great bread for many uses! See you soon!
Great reminder to make pita bread again. Love your whole wheat version
These are gorgeous! And perfect! Now I'm even more tempted to give pita bread a try. The store bought kind is usually so dry and meh. These look so pillowy and delicious!
Pita is one of my absolute favorites! Children will eat them about as fast as you can bake them. Thanks for inspiring me to make some, I haven't for quite some time.