
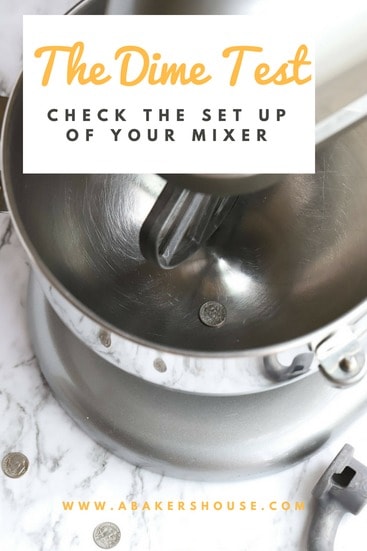


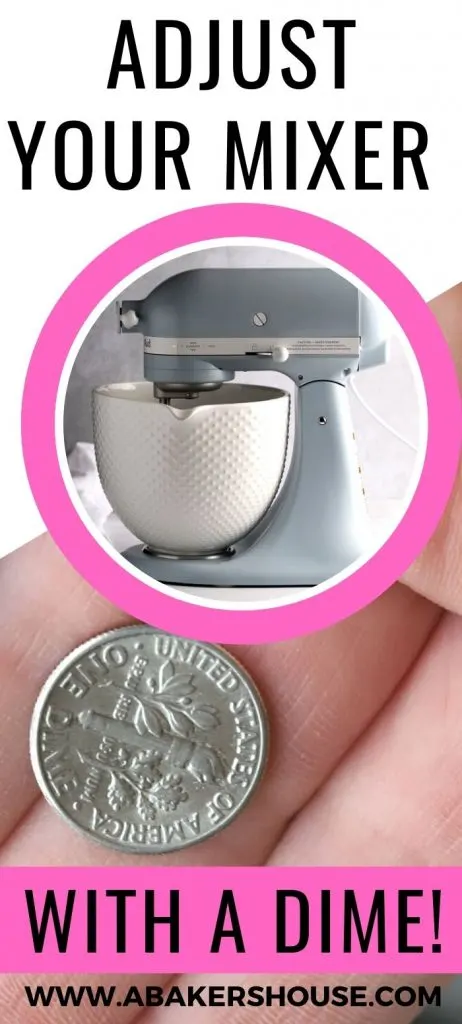

Did you know that there is a dime test for your KitchenAid mixer? This simple step lets you calibrate your stand mixer and adjust the bowl clearance so that it works as efficiently as possible. All you need is a dime and a screwdriver to get your stand mixer in its best working order.
As an Amazon Associate I earn from qualifying purchases.
Types of KitchenAid stand mixers
There are two main types of Kitchen Aid mixers– the tilt-head mixer and the bowl lift mixer.
Both names are good descriptions: the tilt-head mixer literally tilts up and back when you need to access the contents in the mixing bowl. There is a lever you push on the head of the stand mixer that either locks or unlocks the position, and you are able to tilt the head up and back.
The tilt-head mixer currently comes with bowl sizes of 3.4, 4.5 and 5 quarts.
The bowl lift mixer has a handle on the side of the stand mixer which you rotate to lift or lower the bowl. The bowl list mixer is offered with bowl sizes between 4.5 and 8 quarts.
The mixer that is right for you will depend on your preference for stand mixer size, how often you will use the mixer, what type of foods you’ll make with your mixer, and how large of a batch you make while using your mixer.
No matter what type of mixer you use, you’ll want to make sure your mixer is functioning at its best.
If you’ve noticed that ingredients are not being well mixed then you may need to adjust your KitchenAid mixer with this simple tip. This may be due to the height of your mixer paddle.
Dime test for your KitchenAid mixer

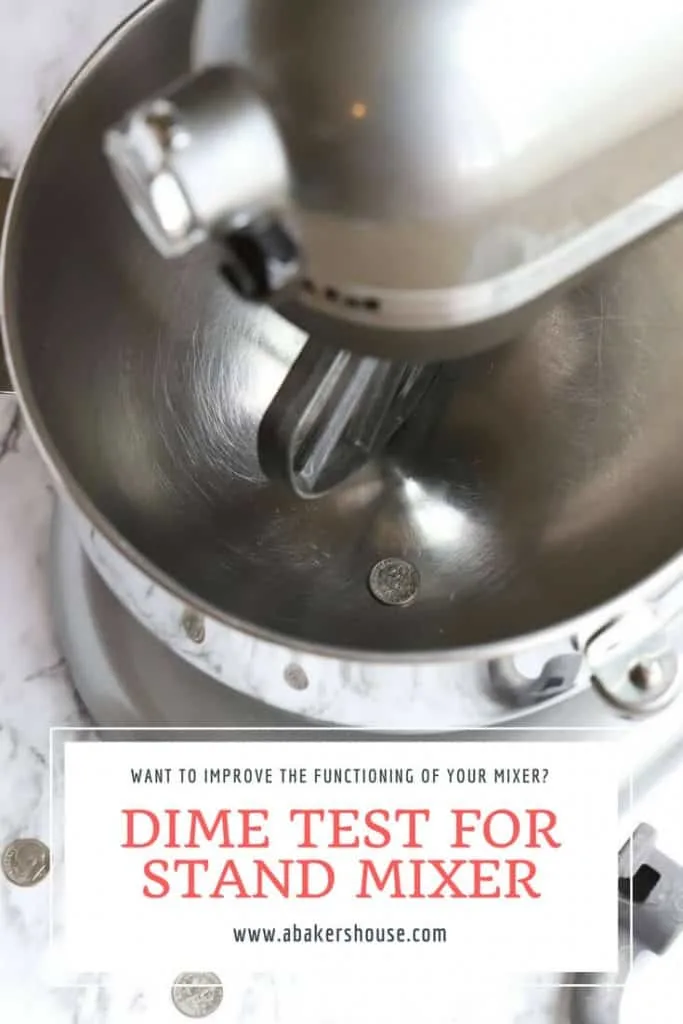
Did you know that there is an easy dime test for your KitchenAid mixer that you can do to see if your beater blade is in the right position for its optimal performance? You may need to learn how to adjust your KitchenAid mixer.
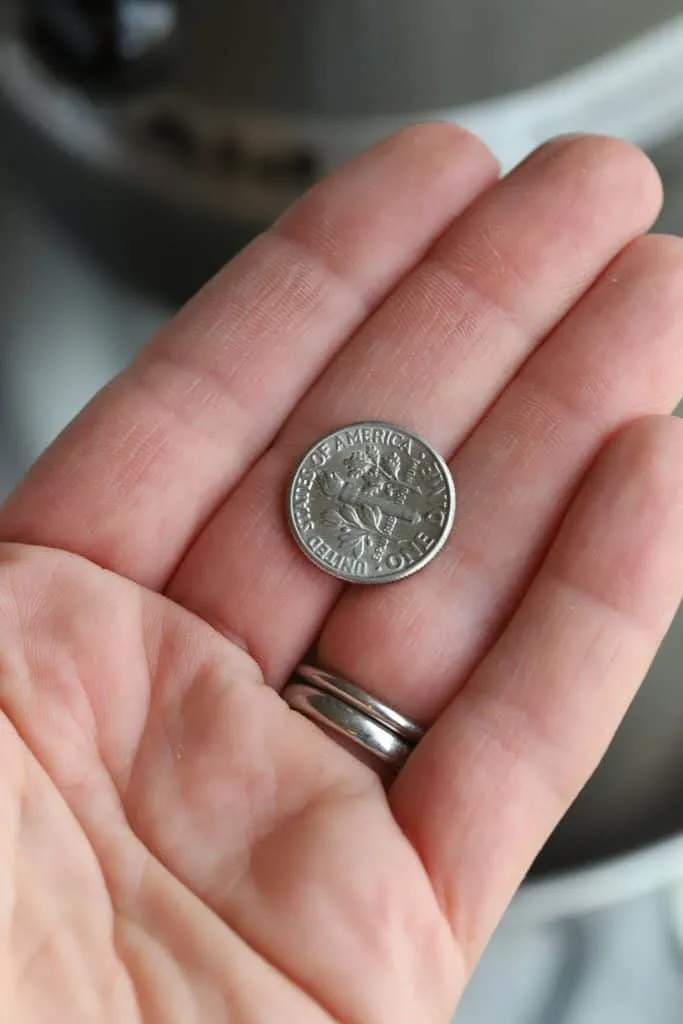
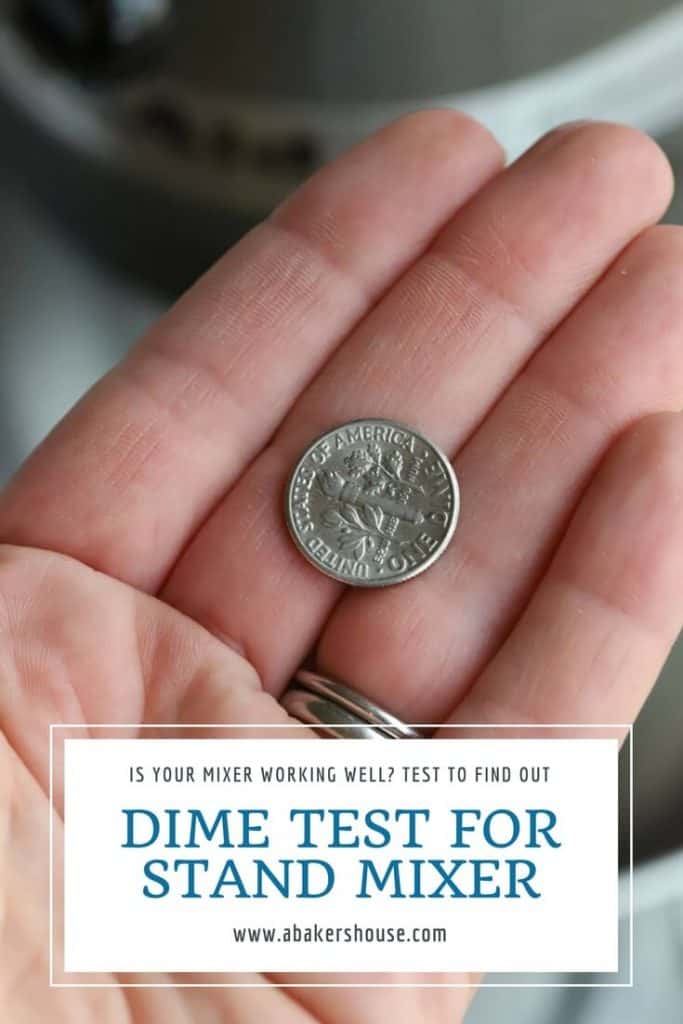
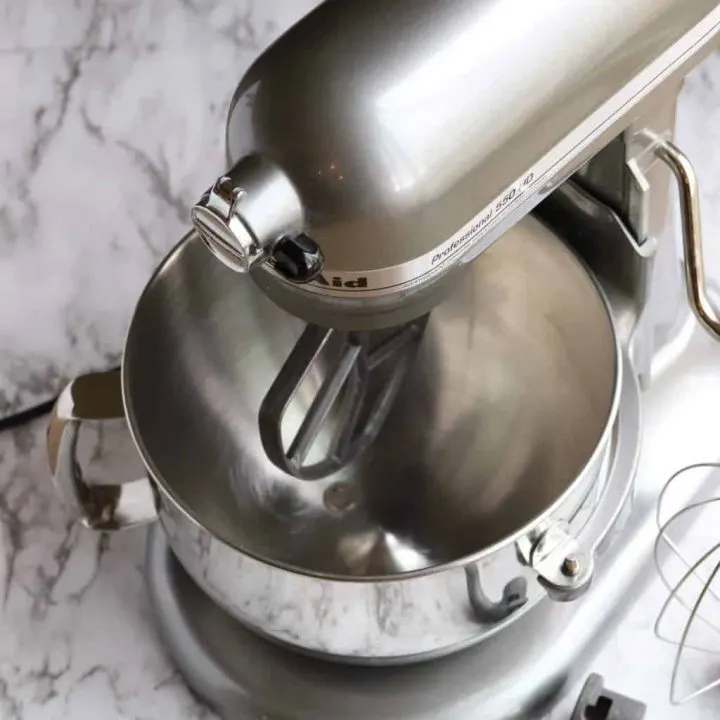
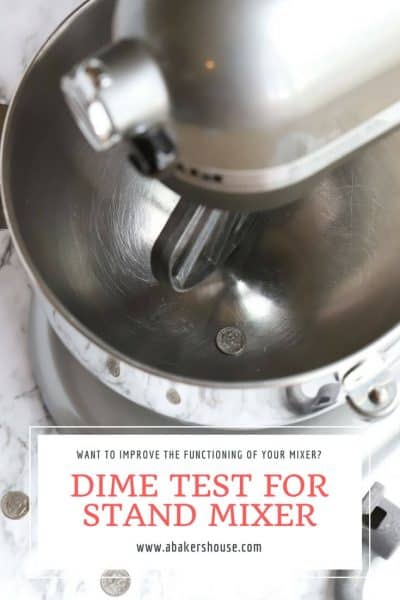
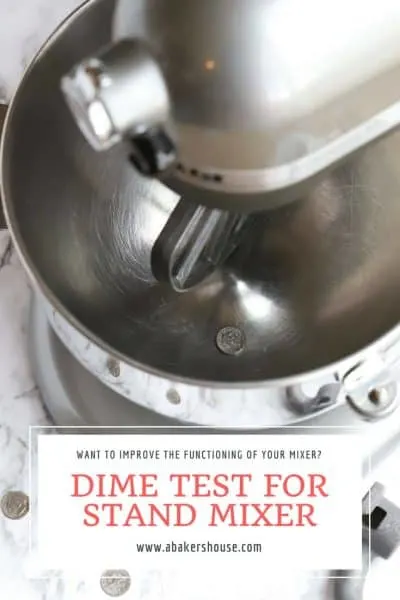
All you need is a dime. Why a dime? A dime is approximately 1/16 of an inch thick. This is the amount of clearance you are testing between your paddle blade and your bowl.
How do I do the dime test for my KitchenAid mixer?
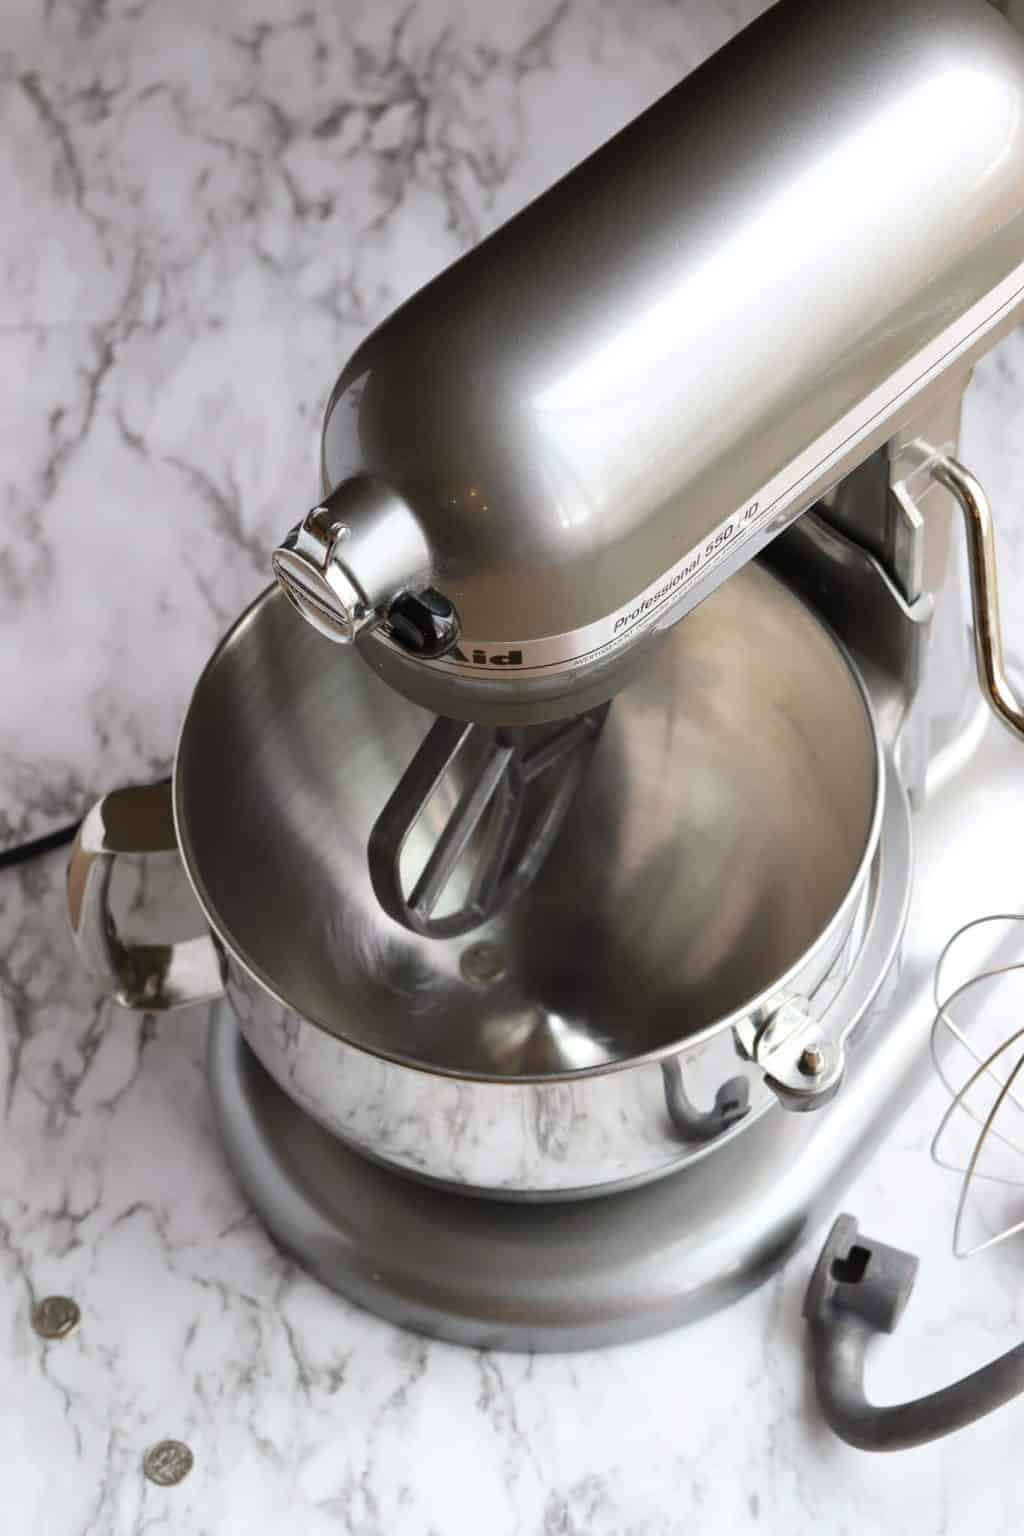
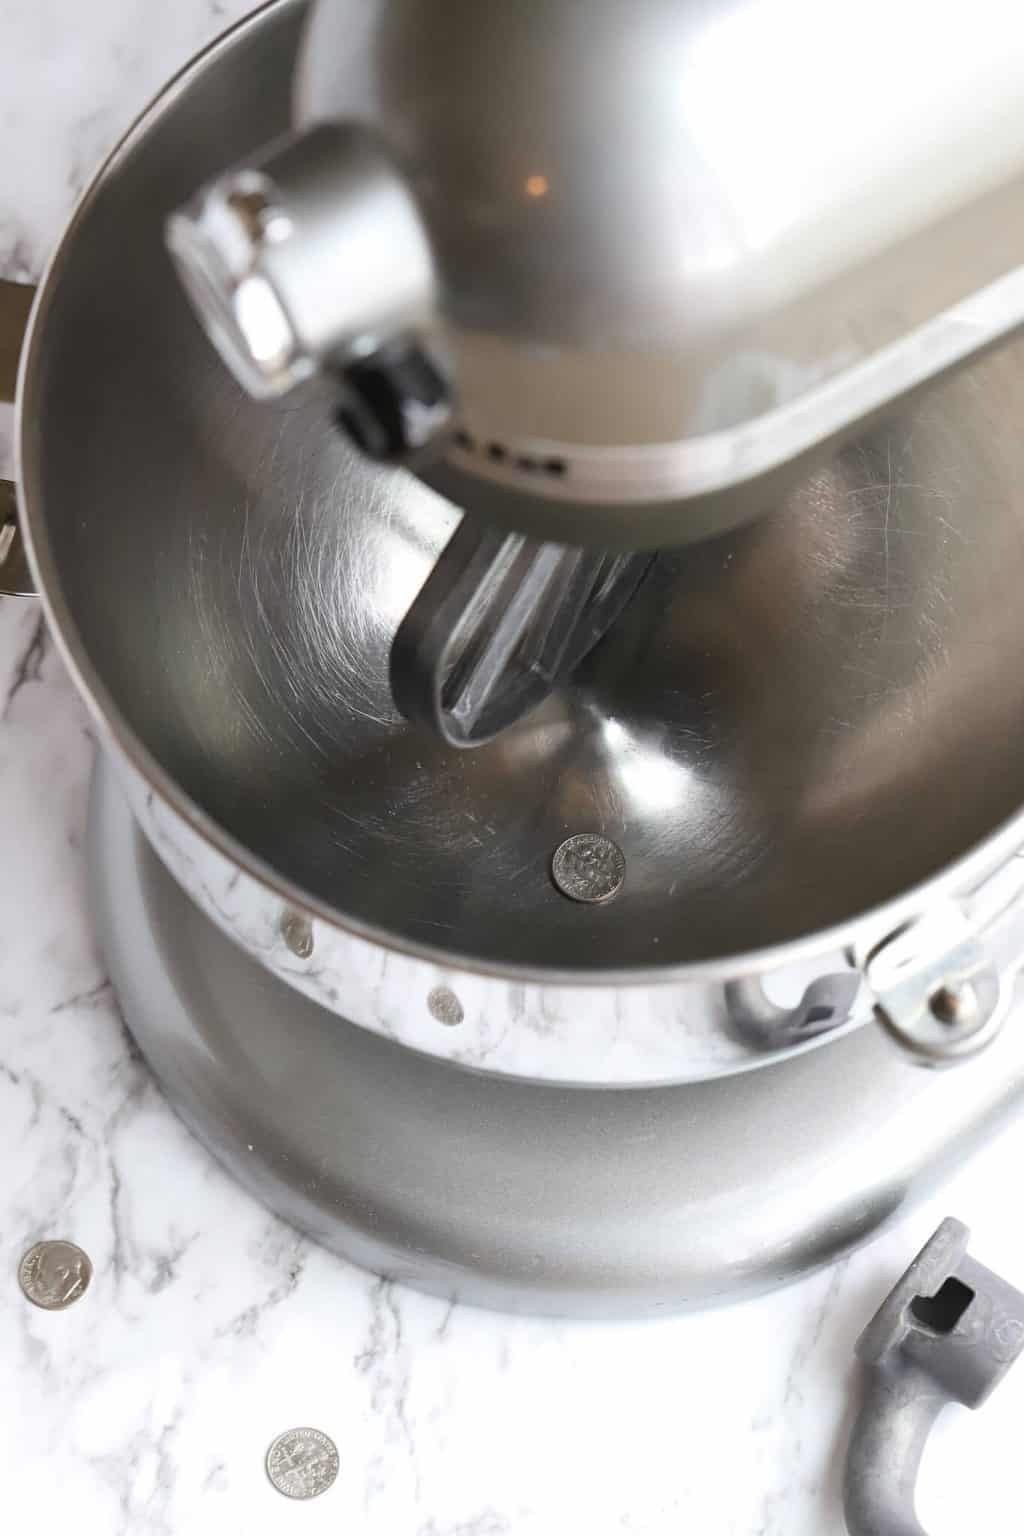
- Place a dime in the bowl.
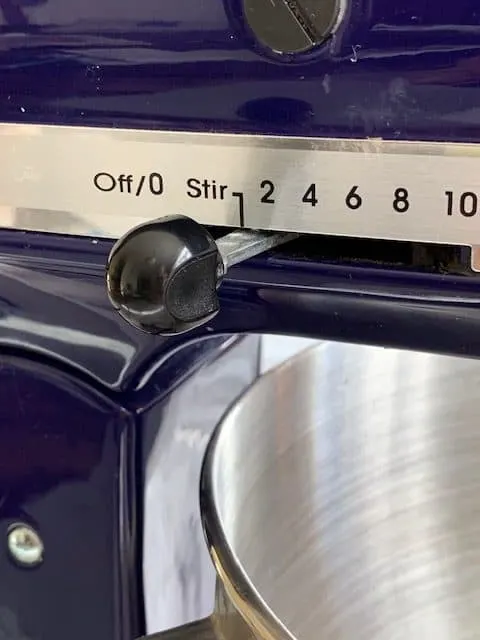
- Turn to “stir” or low speed.
- Watch how the dime moves around the bowl.
- Use a screwdriver to adjust the height of your blade accordingly.
Let’s use pictures to show each step:
Put the dime in your bowl and turn it on to “stir” or low speed. You hope that your beater blade will gently nudge that dime around your bowl about 1/4 inch to 1/2 inch each time. Did mine? No—not even a whisper of movement on the dime!
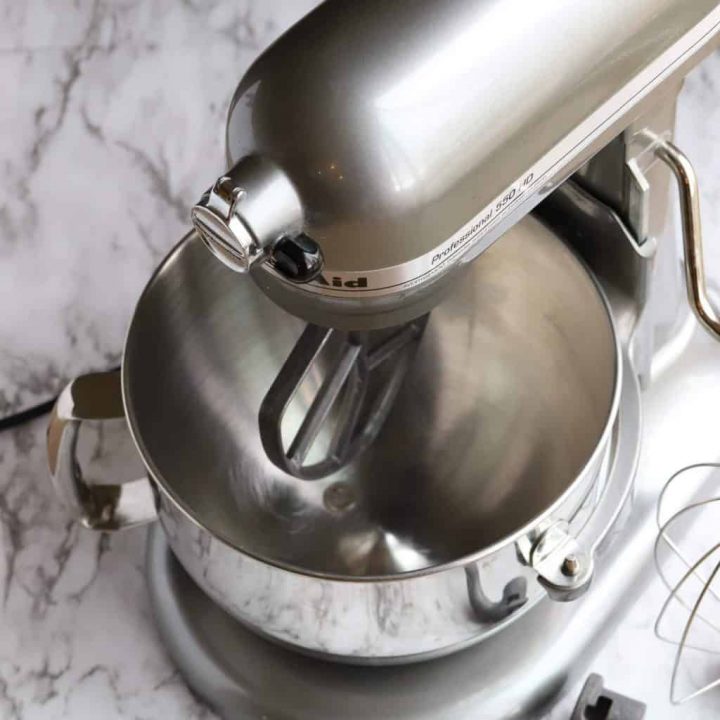
The Kitchenaid mixer paddle to bowl clearance can be adjusted very easily.
How to adjust the clearance between the blade and bowl height on your KitchenAid mixer:
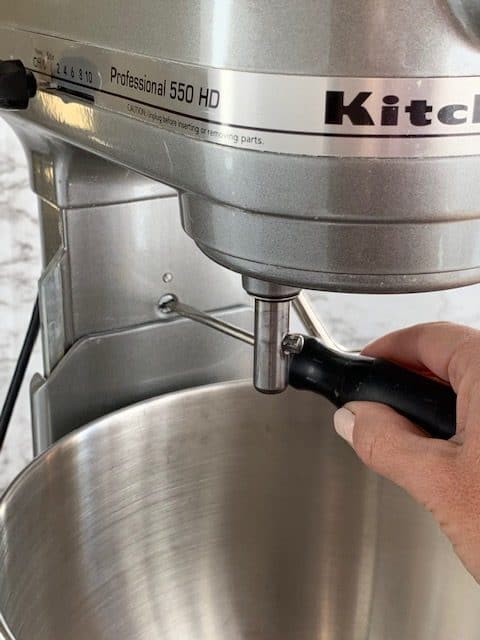
Unplug your mixer first. It also helps to remove the blade to access the adjustment screw.
Find the adjustment screw and turn it 1/4 rotation in either direction to adjust the height of the blade.
Think of a clock face when you plan your 1/4 rotations. Picture the hour hand of a clock pointing to 12 o’clock. A quarter turn to the right would place the hand at 3 o’clock. A quarter turn to the left would place the hand at 9 o’clock.
If your blade is too high, turn the adjustment screw 1/4 turn to the right.
Conversely, if your mixer paddle is too low, turn the adjustment screw 1/4 turn to the left.
You are changing the distance between the blade and the bottom of the bowl. Plug the mixer back in and repeat the dime test to see how the mixer’s function has improved.
How to find the adjustment screw on your stand mixer:
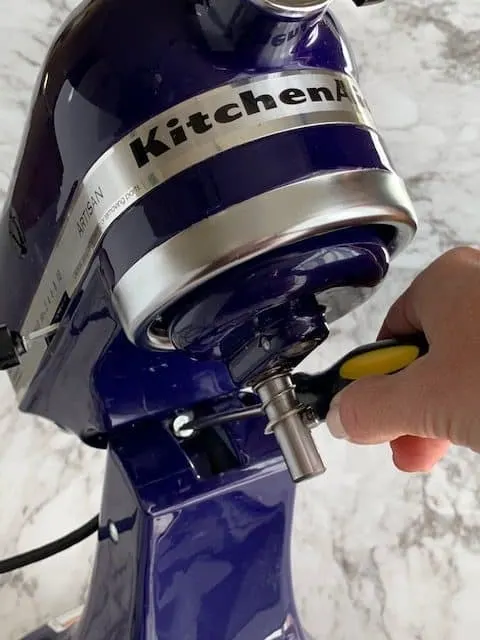
On the tilt-head mixer, the adjustment screw is not immediately visible when you are using the mixer. The adjustment screw is NOT either of the large black screws on the top sides of the mixer head. Please do not remove these screws.

Tilt back the head of the tilt-head mixer and you’ll reveal the adjustment screw that will allow you to raise or lower the height of your mixer blade. The adjustment screw is a silver screw.

Now let’s looks at the bowl lift stand mixer. Again the adjustment screw is not visible while the stand mixer is in use.
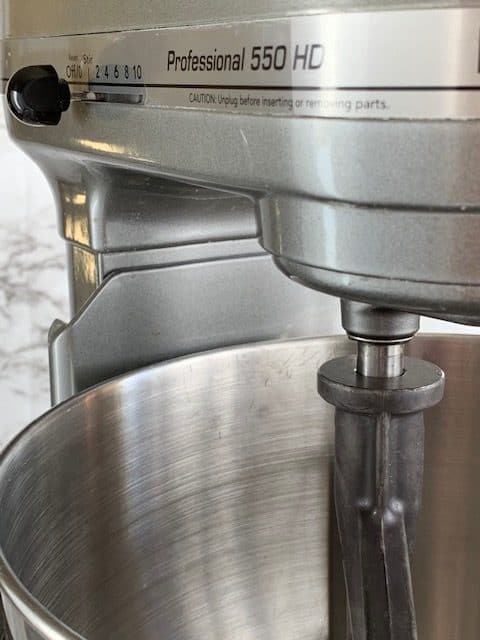

Once you rotate the handle on the side of your lift bowl stand mixer, you’ll see the silver adjustment screw.


Use a screwdriver to turn the screw 1/4 turn to the left or to the right as needed. Be sure to unplug your mixer before you make any adjustments. Remove the blade before making adjustments to make accessing the screw easier.

I’d love to hear if you’ve had any luck with this tip for the dime test for your KitchenAid mixer. Do you use the standard mixer blades or do you use the flex mixer blade?
Types of Mixer Blades for your Stand Mixer
I was really excited to receive a KitchenAid mixer for Christmas a few years ago. I envisioned plans of freshly baked bread, batches of cookies, and delicious cakes all to be made with this mixer.
Has that happened? Well…no, not exactly. I have used the mixer frequently but not as often as I intended. I get frustrated that I am forever stopping the mixer to clean the sides of the bowl with a spatula and to give the batter a quick mix to incorporate the bits that the mixer has missed. Can you relate?
I’ve seen advertisements for a special mixer blade that has softer edges that will scrape the sides and bottom of the bowl more efficiently. I found one at Homegoods recently but once it was in my kitchen I realized it was for a smaller bowl (4-5 quarts and mine is 5.5).
I found this one online and have LOVED the results. A flex mixer blade has given my KitchenAid stand mixer new life. Be sure to buy the blade that fits your model of mixer.
How to Adjust the Bowl Clearance on your KitchenAid Mixer
Use a dime to do this quick and easy test to see if your KitchenAid mixer is performing its best.
Materials
- Dime
Tools
- Screwdriver
Instructions
- Place a dime in the bowl.
- Turn to "stir" or low speed.
- Watch how the dime moves around the bowl.
- Use a screwdriver to adjust the height of your blade accordingly.
Notes
A dime is 1/16 inch thick which makes it the ideal size for this test. Other coins may not be precisely 1/16 inch.
Pin this tip for the dime test or your KitchenAid mixer for later!
Now that you have your KitchenAid mixer functioning at its best, here are some recipes you’ll love!
Please note that this post was originally published in April, 2012; it was updated with text and photos in 2018.


Holly Baker started the food blog, A Baker’s House, in 2011. She is the writer, recipe creator, and photographer for the site. Holly loves to bake and shares recipes for gluten free food, canning recipes, as well as traditional desserts too. Her recipes and food photography have been highlighted by BuzzFeed, Reader’s Digest, and She Knows.
Odessa Clark
Friday 5th of February 2021
I have had my kitchenaid mixer for about 14 years. I have the lift kind. I did not know about the dime test. Thank you for posting this. I have struggled with left over dry ingredients in the bottom or bread not forming a ball without stopping multiple times to scrape and mix in the flour. I had to do two turns to raise it. Thank you so much.
Holly Baker
Tuesday 9th of February 2021
I am so glad to hear this helped. Happy baking!
Sue
Sunday 3rd of January 2021
Thank you for presenting the information so clearly! I knew I needed to adjust my mixer but had no clue how to know much. This helped a lot! My first test with the dime yielded the same result you had, no movement at all. I’ve tightened it (quite a bit) and can’t wait to test it out on cookie dough! Hoping for less scraping. 😄
Holly Baker
Tuesday 26th of January 2021
Happy baking!
Angela
Thursday 31st of December 2020
This is wonderful! I got a Kitchen Aid mixer for Christmas a year ago and it has never worked properly. I was wondering why people love them so much. This randomly popped up on my Pinterest (Weird. Because I had not been googling it) I did this dime test and my bowl was too low! I adjusted it so that it just nudged the dime around and then made some bread dough with NO troubles! Thank you so much.
Holly Baker
Tuesday 26th of January 2021
So pleased this helped!
Janice Overton
Friday 4th of September 2020
I was excited to find this tip and immediately tried it. I turned the screw one way, then the other, as far as it would turn. At no time could I get the mixer paddle to touch a dime--or even a quarter. Any other hints I could try? I have a Pro600 and use a flex paddle. I've been using washers on the bowl holders to lift up the bowl.
Holly Baker
Sunday 6th of September 2020
I'd suggest calling Kitchen Aid's customer service. I don't want to recommend anything not already found in their product directions that might void your warranty.
Linda Christensen
Friday 14th of February 2020
I was thrilled to find this hint. I looked at my fixed head KA. There are 4 screws, none of which will make adjustments. However, after some looking we found a very small screw at the bend of the head and arm that barely gives some adjustment - but enough to work. The screw is pretty loose, so we'll need to keep watch on it. At least now the machine is adjusted!