
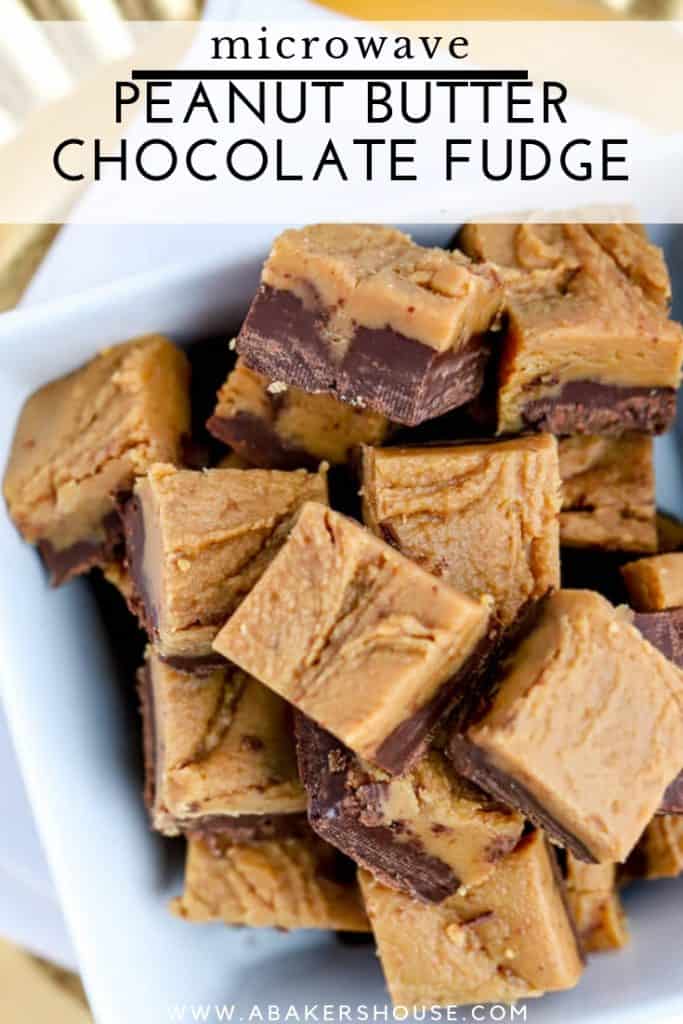


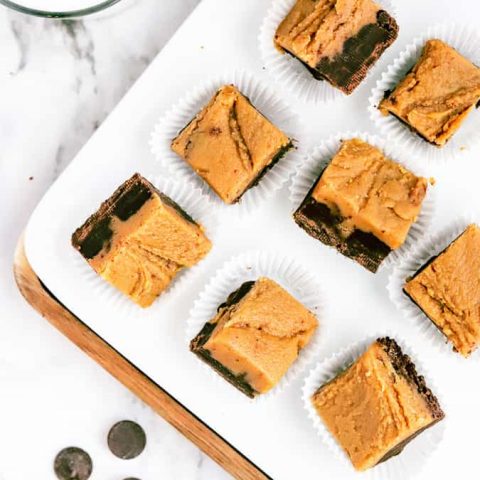
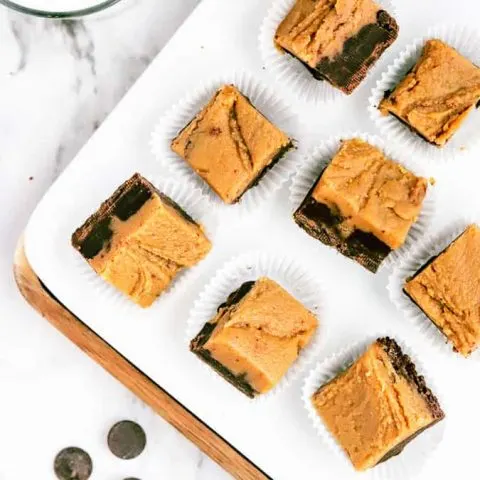
Chocolate peanut butter fudge is a smooth and creamy fudge made with only three ingredients! Even better, this easy fudge recipe is made with condensed milk and comes together quickly in the microwave. Start your timer because in less than 10 minutes you can make this rich, chocolate treat!

Thanks to Amanda at Recipes Worth Repeating. I originally shared this chocolate fudge recipe on her site. I am happy to post it here today for my readers.
Making fudge is an annual ritual for me that occurs in the weeks leading up to Christmas. In those weeks, time is short and the list of things to do is long, so having an easy microwave fudge recipe made with simple ingredients is appreciated.
Microwaving fudge is my favorite method to make homemade fudge. It’s quick, easy, and sure to satisfy your sweet tooth! You don’t need a candy thermometer– there is no fuss at all!
This version of peanut butter chocolate fudge tastes just like Reese’s peanut butter cups!
A bite of fudge is a decadent treat. Giving this homemade gift to others is a thoughtful way to share goodies from your kitchen. A little fudge goes a long way so package this up in a small tin and wish your friends and family a happy holiday!
You don’t have to limit making fudge to the Christmas holidays. Try this Easter White Chocolate Fudge for a fun change!
How do you make chocolate peanut butter fudge in the microwave?
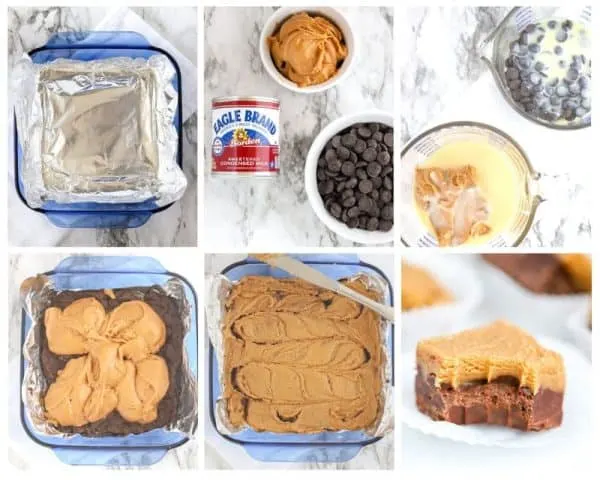
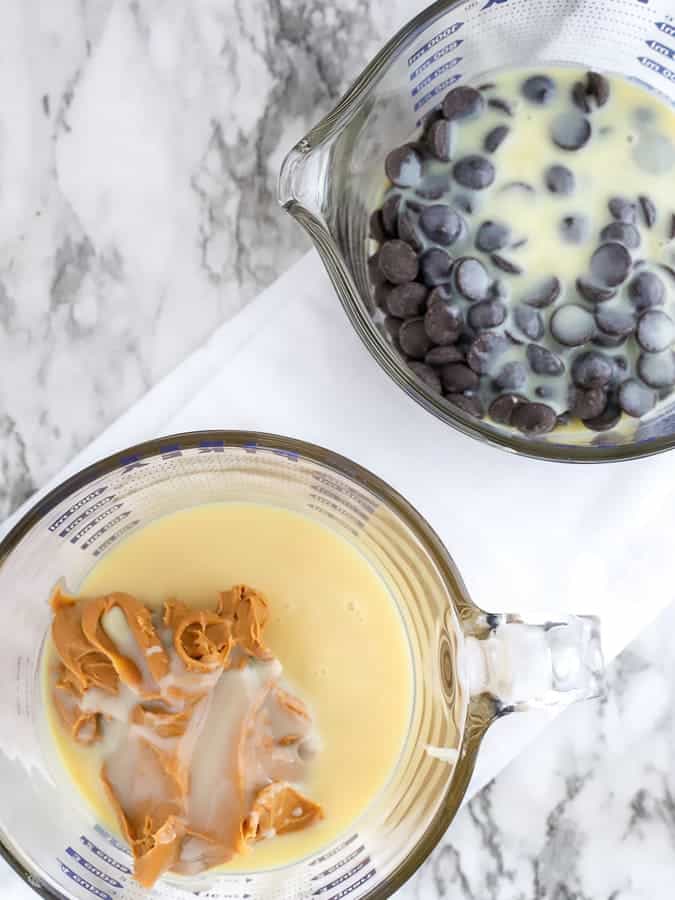
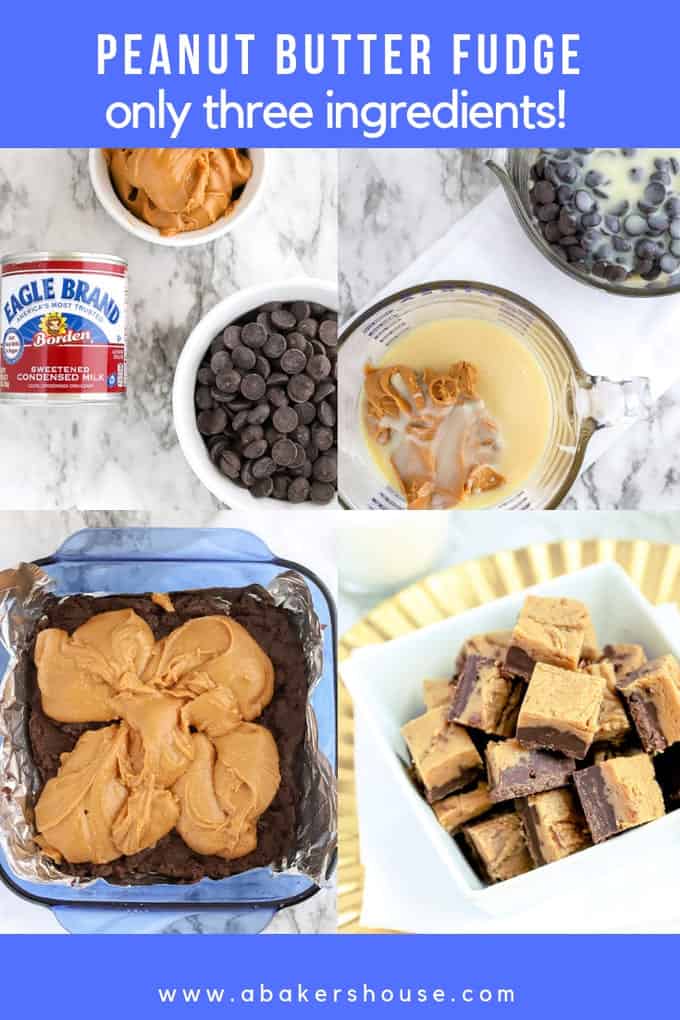
- In a microwave-safe bowl, microwave half of the condensed milk with the chocolate chips. Separately microwave the remaining sweetened condensed milk with the peanut butter.
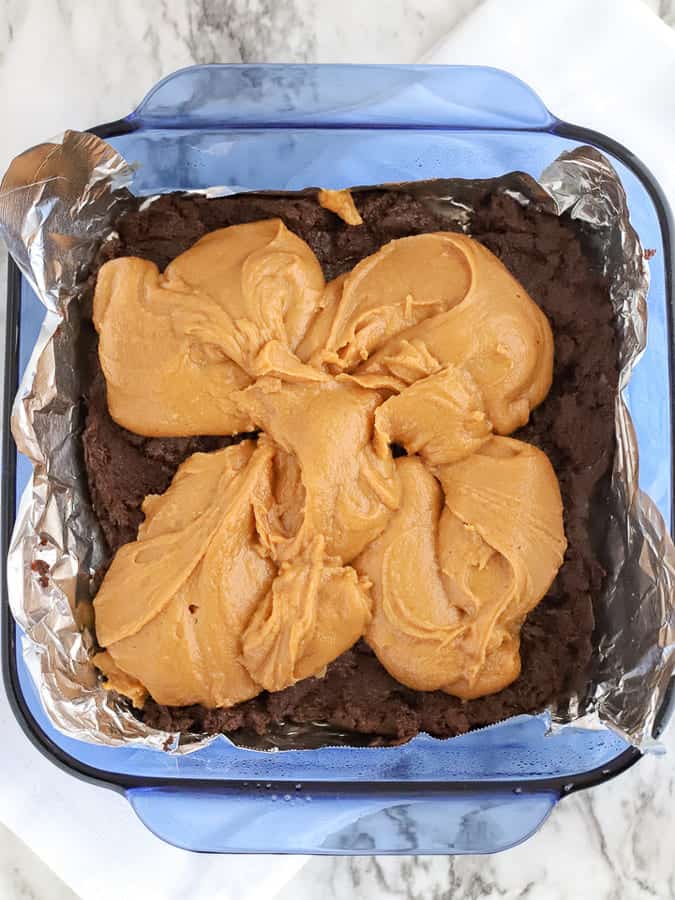
- Layer the chocolate mixture and the peanut butter mixture in an aluminum foil lined square pan. Make sure to cover the bottom of the pan. You could use wax paper instead in the prepared pan if you wish.
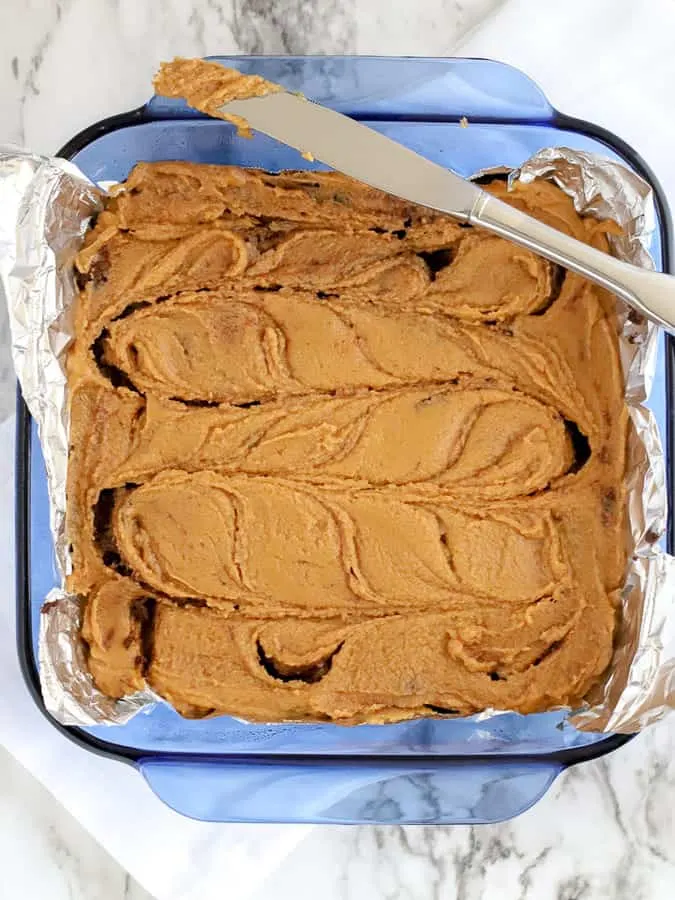
- Swirl the layers. Cover with plastic wrap then refrigerate for 3-4 hours or overnight.
- Cut into small squares and enjoy!

Using the microwave to make fudge makes this a quick and easy recipe. Nearly all the “work” is handled by the microwave making this no bake dessert a popular one.
Plan ahead and allow enough time for the fudge to set in the refrigerator. Three to four hours should be just right or make it ahead and let the fudge rest in the refrigerator overnight.
Can you make fudge with condensed milk?
Yes, making fudge with condensed milk is a short cut that allows this fudge to be made with only three ingredients. Sweetened condensed milk is the full name and it is exactly as it sounds– milk that has been sweetened with sugar and sometimes butter and vanilla are added too.
I also make mocha truffles with sweetened condensed milk. Give them a try!
Carolyn at All Day I Dream About Food makes a sugar-free low carb sweetened condensed milk from scratch which I’d like to sample.

What other recipes made with condensed milk?
- Cookie Butter Fudge
- No Bake Cheesecake Bites
- No Bake Kit Kat Squares
- Almond Joy Cookies from Mom on Timeout
- Sweetened Condensed Milk Butter Cake from Melissa’s Southern Style Kitchen
Can you make fudge with three ingredients?
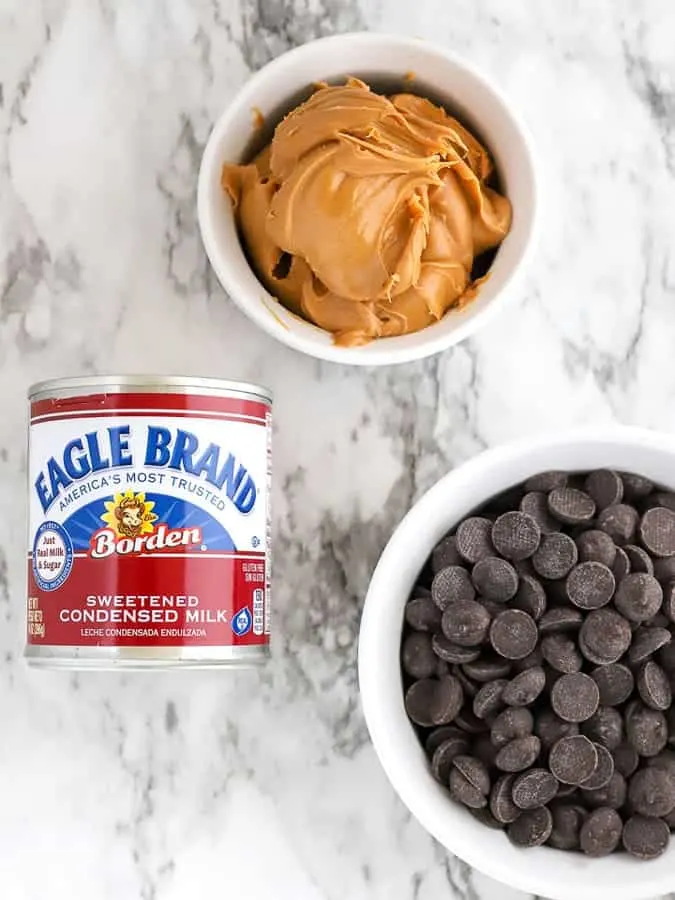
Yes! Once you’ve taken the above mentioned short cut of using sweetened condensed milk, making fudge with three ingredients is a breeze. Obviously you’ll need a chocolate layer and a peanut butter layer in this two layer fudge, so your three ingredients will be sweetened condensed milk, chocolate chips and peanut butter.

What type of chocolate chips are best for fudge?
Selecting the type of chocolate for this fudge recipe is a personal preference. This recipe calls for semi-sweet chocolate chips but dark chocolate chips or milk chocolate chips are a good choice too. Combining both make for a nice balance of chocolate flavors.
Buy a chocolate chip that you enjoy eating. This sounds obvious but isn’t always. You’ll want to purchase the nicest chocolate you can buy. When you only have three ingredients, they need to be high quality since that is what you’ll taste in your finished product!
What kind of peanut butter is best? Smooth or chunky?
Here I’ve used smooth peanut butter. It makes for a creamy bite of fudge.
If you’d like to add a bit of texture, then by all means, go ahead and use chunky peanut butter or crunchy peanut butter.
Peanut butter chips could be sprinkled throughout as well for an extra layer of crunch.
If you make this easy chocolate recipe with other nut butters, please leave a comment to let me know how it goes.
What else could I add to this fudge?
If you’d like to expand on your three ingredient fudge, there are many ways you could go. Try adding any of these festive touches to this chocolate peanut butter fudge recipe to make it your own:
- Peanuts
- Almonds
- Shredded Coconut
- Dried fruit
- Pecans
- Marshmallow fluff
- White chocolate chips
- Butterscotch chips
- Candy (leftover Halloween candy anyone?)
How do you make the peanut butter swirl?
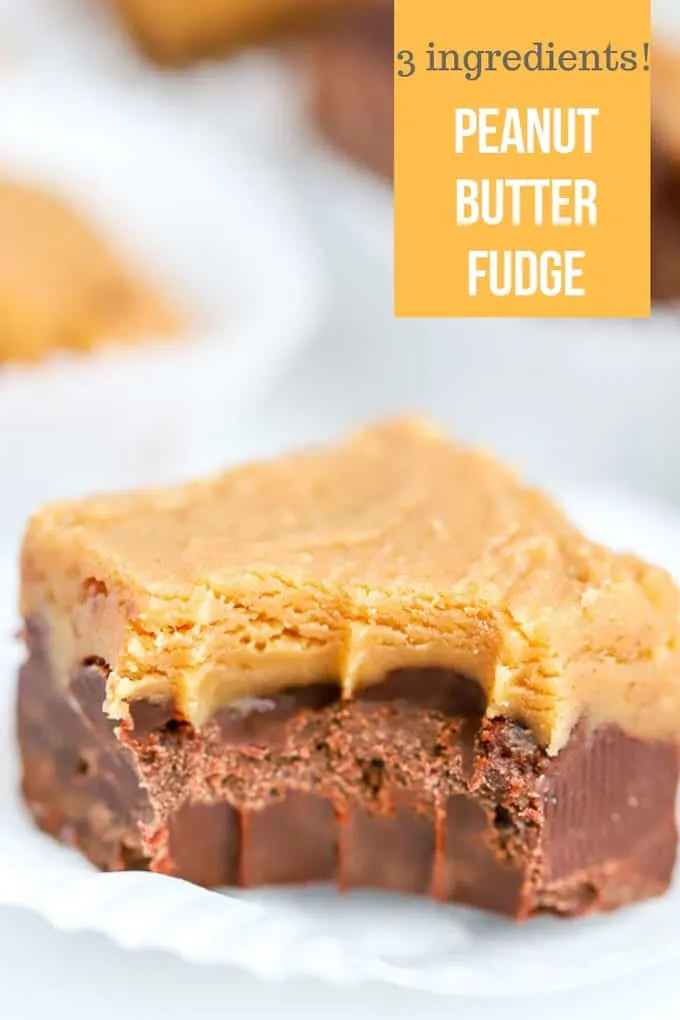
You may build the chocolate and peanut butter fudge in two distinct layers with a solid layer of one and then the other.
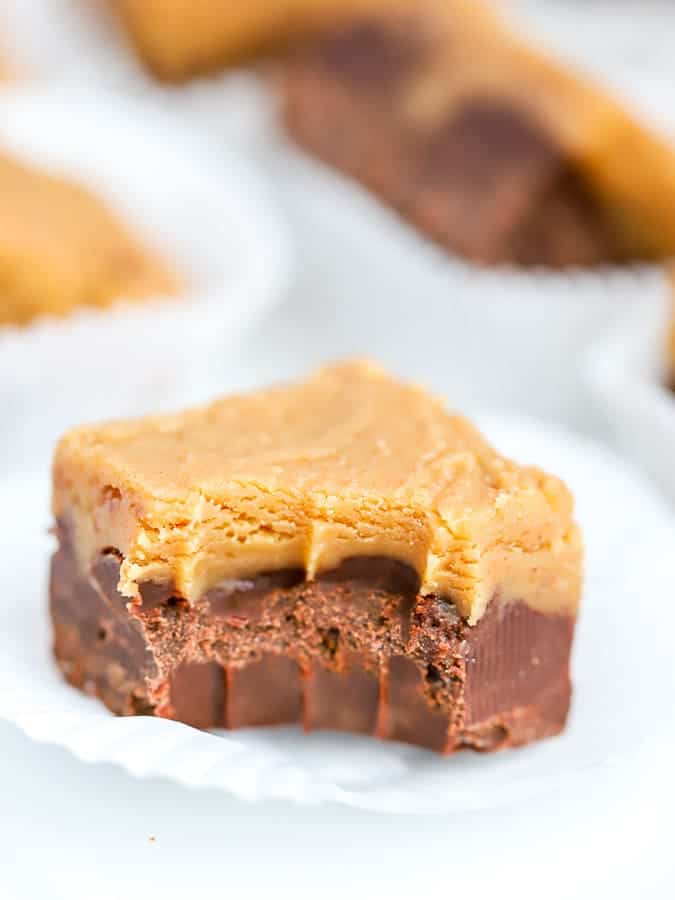
Alternatively you can make one solid layer of chocolate, which is what I chose to do, then add the peanut butter and swirl it in. I like the bottom layer of chocolate because it is a firm foundation and the creamy peanut butter layer sits beautifully on top.
An easy way to create swirls is to add scoops of the chocolate then the peanut butter using either an ice cream scoop or a large spoon. This method is similar to how you might create swirls in a bundt cake. Alternate the flavors then take a knife and go back and forth to mix them together.

Is this better as a layered fudge?
You decide! I’ve made this two flavored fudge both ways. Leave the layers as distinct flavors with chocolate first then peanut butter on top or combine the two in a swirl and marbled pattern of sorts.
I do recommend that the chocolate layer is the base layer because it is a touch more stable and solid than the peanut butter fudge layer. It is easier to keep it as the steady bottom layer which makes cutting this fudge easier.

How do you slice fudge?
- Fudge slices best with a sharp knife.
- Cold fudge slices more easily. Do not let the fudge come to room temperature before cutting.
- Warm your knife first: run your knife under hot water from the tap. Dry off the knife with a clean cloth. Use the warmed knife to slice through the cold fudge.
- Have you tried slicing fudge with dental floss? Use the unflavored, non-coated floss. Take a long piece and slide it through the fudge for nice, clean cut lines.
How to store fudge
Storing homemade fudge is best in an airtight container in the refrigerator or a cool place.
It tastes great cold but you can also leave it out on the countertop to come to room temperature before enjoying this treat.


Did you find this blog post and these step-by-step instructions helpful? If you’ve tried my Chocolate Peanut Butter Fudge then don’t forget to rate the recipe and let me know how it turned out in the comments below! I love hearing from you!
Chocolate Peanut Butter Fudge
Chocolate peanut butter fudge is a smooth and creamy fudge made with only three ingredients! Even better, this easy fudge is made with condensed milk and comes together quickly in the microwave.
Ingredients
- 1 bag semi-sweet chocolate chips (12 ounce)
- 1 cup peanut butter
- 1 can sweetened condensed milk (14 ounces)
Instructions
Prepare an 8 by 8 pan with aluminum foil. Spray with baking spray.
In a microwave safe container, combine the peanut butter and half of the sweetened condensed milk. Microwave on half power for 2 minutes. Stir until smooth. Set aside.
In a second microwave safe container, combine the chocolate chips and the remaining sweetened condensed milk. Stir until smooth.
Pour the chocolate mixture into the prepared pan. Pour or scoop out the peanut butter mixture on top. Spread evenly. Take a knife, spray it with baking spray, then run it through the two layers to combine, creating swirls. Cover with plastic wrap and refrigerate 3 to 4 hours. Cut into squares to serve. Store in the refrigerator until ready to enjoy.
Notes
- I used smooth peanut butter, but you could also use chunky peanut butter to add texture.
- Dark chocolate would be wonderful, too! Use any type of chocolate chips that you’d like.
- One inch squares is the serving size
Nutrition Information:
Yield:
36Serving Size:
1Amount Per Serving: Calories: 51Total Fat: 4gSaturated Fat: 1gTrans Fat: 0gUnsaturated Fat: 2gCholesterol: 0mgSodium: 36mgCarbohydrates: 3gFiber: 0gSugar: 2gProtein: 2g
Here is the Google Web Story for this easy peanut butter chocolate fudge!
Join me on Pinterest and Save this Chocolate Peanut Butter Fudge Recipe!

This post was shared in December, 2018 and updated in 2021.


Holly Baker started the food blog, A Baker’s House, in 2011. She is the writer, recipe creator, and photographer for the site. Holly loves to bake and shares recipes for gluten free food, canning recipes, as well as traditional desserts too. Her recipes and food photography have been highlighted by BuzzFeed, Reader’s Digest, and She Knows.
Michele
Sunday 29th of December 2019
I made these and they are AMAZING!! So easy, but you'd never know that they were microwaved and done in less than 10 min (not including refrigerator time). Will make these again. Can you freeze them?
Holly Baker
Sunday 5th of January 2020
Yes, freezing should be fine.
JOSEFINE
Thursday 26th of September 2019
Yum I love peanut butter ! These look so simple to make!
John
Friday 4th of January 2019
This looks really good! And its so easy to make!
Holly Baker
Saturday 5th of January 2019
You are exactly right-- this fudge could NOT be any easier!
Abbe@This is How I Cook
Tuesday 18th of December 2018
Holly, this sounds awesome. Believe it or not I still need to make a few more sweets!
Toni
Sunday 16th of December 2018
Wow my mouth is watering !!! Definitely want to try this.